Why I Hate Foundation

5

First off, I want to apologize in advance to every woman who wears foundation or BB cream on a daily basis. I definitely don’t mean any disrespect to anyone, especially to women who experience a big boost in self-confidence when they cover birthmarks, scars, or other blemishes with makeup. However, I honestly don’t like foundation at all. I dislike it so much that I never wear it in my regular daily life. Here are the only instances in which I will wear BB cream or foundation:

1. Photo shoots
2. Public appearances
3. Auditions
4. Video or TV shoots
5. Formal affairs

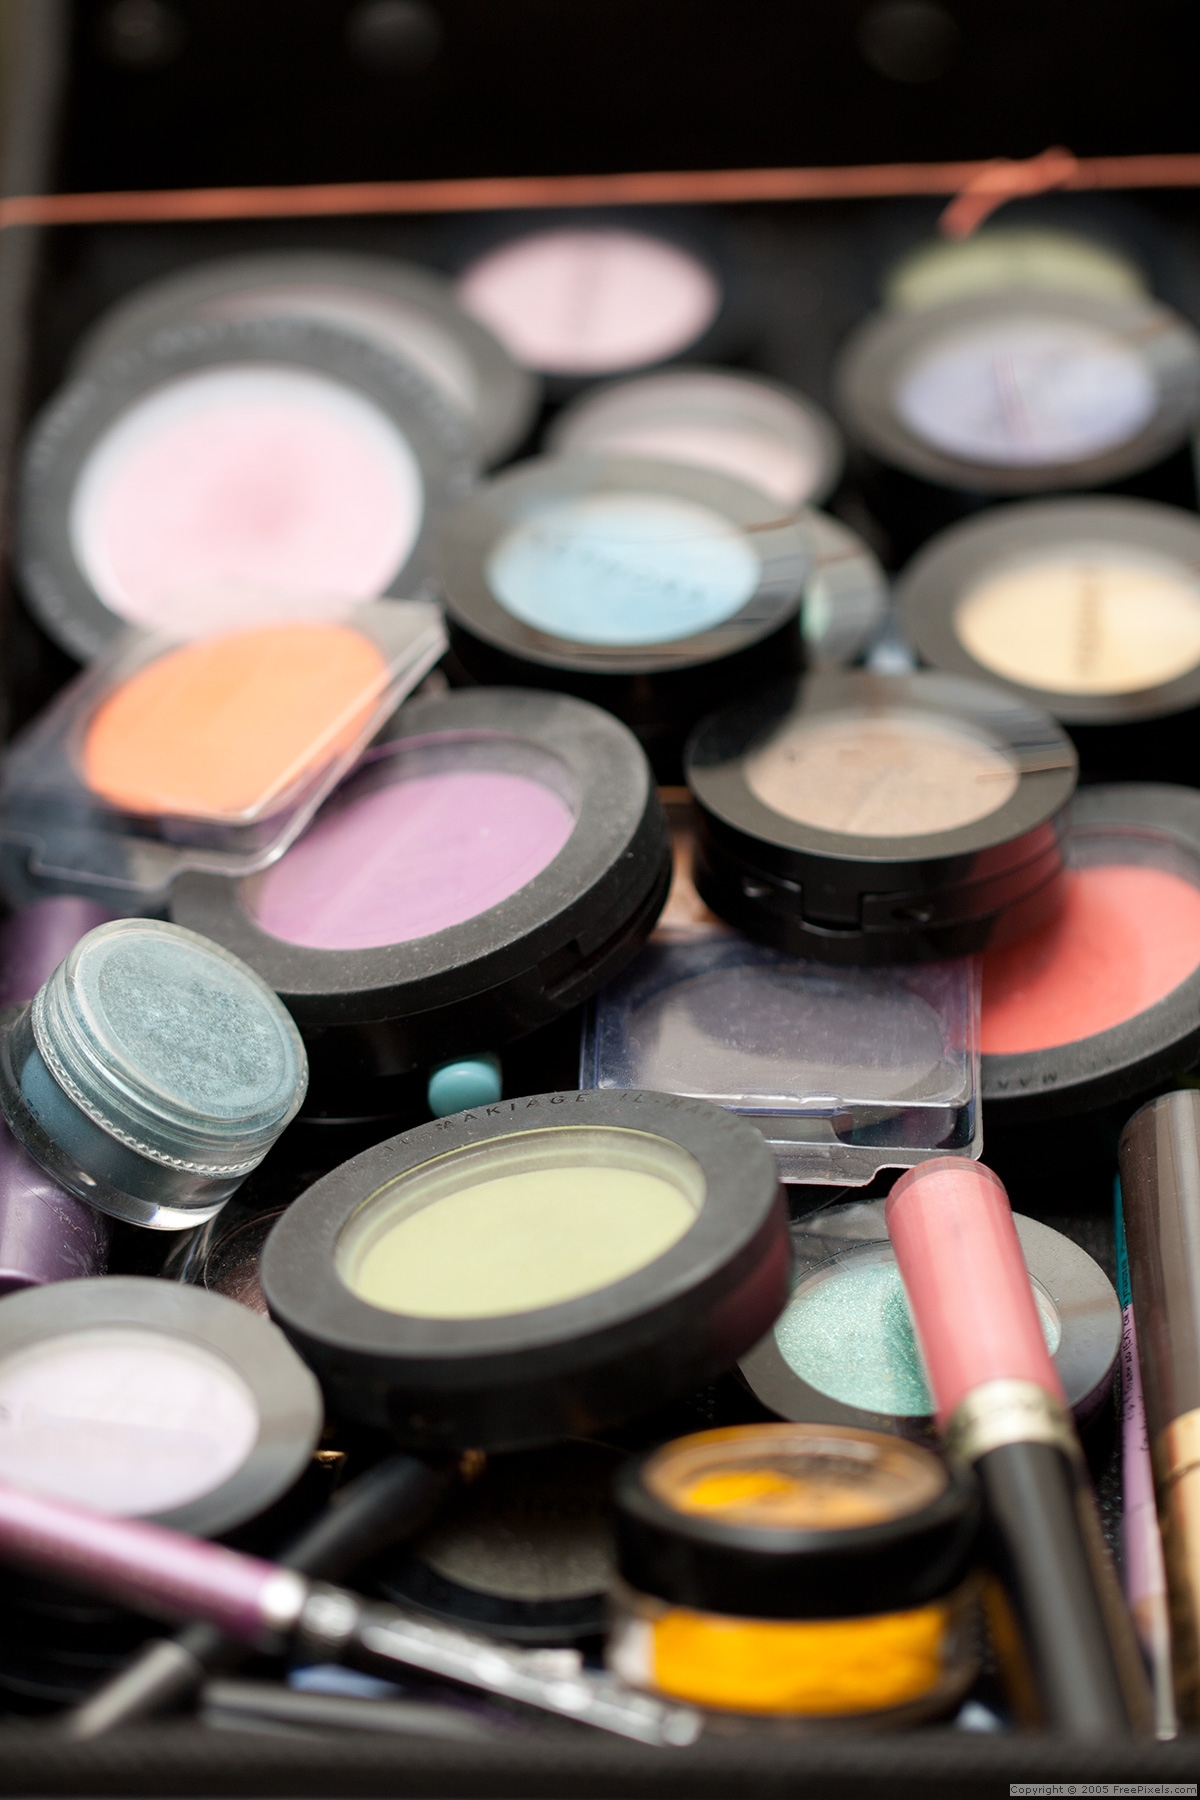
I can’t stand the feel of anything cakey or heavy on my skin, and that is why I only use translucent powder on my skin on a daily basis. I know that I am very fortunate to have good skin, with no unsightly breakouts or other blemishes (though the freckles on my cheeks have always driven me nuts ever since I had them as a young child), so I can get away with avoiding foundation. Could my skin look smoother if I used foundation? Yes. But it is not worth the feeling of discomfort I get from having my skin suffocated with a liquid or cream cover. I don’t want to have to worry that part of my face might look different if a dog licks my face, or if I sweat profusely and wipe my face.

One of the most prominent memories I have of poorly applied foundation which solidified my aversion to the stuff occurred when I was in high school. One of my classmates had such a love affair with makeup, especially foundation, that she would cake it on every day before coming to school. Her foundation was so thick that it looked like she had applied it with a palette knife, yet the effect was nothing close to an exquisite oil painting, but more like a tribute to Bozo the Clown. If she scratched her cheek to calm an itch, her nails would leave deep gouges in her foundation.

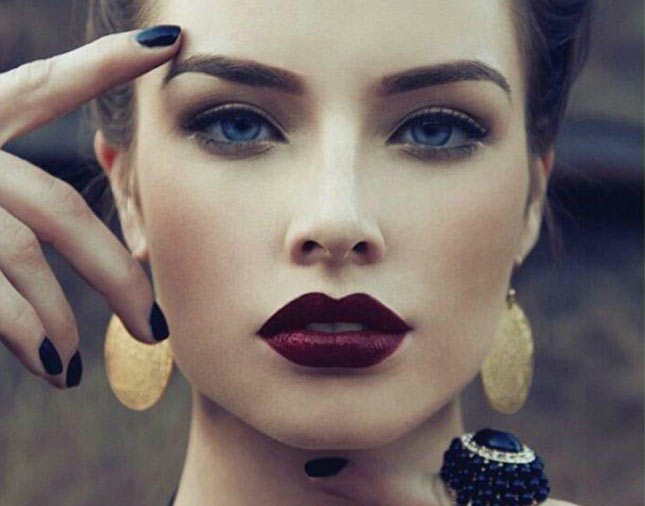
To me, foundation looks like a mask, and to an extent, it is a mask. Though it creates a flawless finish (particularly if it is full coverage), it still covers up the skin’s natural beauty. I realize that a flawless finish is important on-camera, but in regular daily life, it seems a shame to suffocate the skin. Since I truly think that skin is beautiful, it bothers me that the majority of women in developed countries find it necessary to cover it up. The luminous quality of unadorned skin is lost when it is covered by even the lightest of foundation. I guess I just don’t want to look “done” in my day to day life.

I want my skin to breathe. I don’t want to have to worry about my foundation melting off my face, or about leaving makeup marks on my ivory sheets from an incomplete makeup removal. My mom always told me that eventually, I would have to start wearing foundation daily, but at this point, I have made it half a century without having to do so.

Maud’s Of Beverly Hills Lash Extensions

Mauds lashes

I was fortunate enough to have full eyelash extensions applied on January 20th, and I absolutely LOVE them! Though I have great hair and skin, my eyelashes have always been skimpy. Latisse has created some magic with my eyelashes, but I haven’t used that product in over a year, so my lashes reverted to their sad state.

When I visited Maud’s Of Beverly Hills, I was warmly greeted by the proprietor, Victoria. The salon was clean, elegant, and I felt instantly comfortable. I filled out some paperwork, sipped a lovely cup of coffee which Victoria offered to me, then was led into the treatment room, where I met the talented lash technician Jennifer. Jennifer then spent about an hour and a half applying faux mink lashes to my natural lashes. She measured my lashes, which were 9 millimeters, then stated that the usual extension length is 3 millimeters more than the client’s natural length. I explained to her that I wanted something more dramatic, so we settled on a 14 millimeter length.

It was wonderful when I saw the reveal, super lush lashes which looked like I was wearing false lashes. Lovely!

This treatment is the ultimate in lash extensions! Don’t settle for less expensive lash extensions which cause your lashes to fall out prematurely. Spend a bit more for true quality. You will love the results!

Perfect Stage Makeup

http://www.rxmuscle.com/rx-girl-articles/6198-perfect-stage-makeup.html

The original post was published on RxGirl.com on Monday, 30 July 2012. The text was white on white, so the text is tough to read unless you highlight the entire body of the article. To make it easier for everyone, I have copied and pasted the article here.

100906a6676
Let’s say you have decided to compete in your first contest and have already chosen your suit and accessories, booked your tanning appointment and, in an effort to keep costs down, decided to do your own makeup. If you have done stage makeup for other competitors then you most likely know what colors and techniques to use in order to avoid looking like a ghost onstage. However, if the extent of your makeup application skills has not ventured beyond bridal makeup and a nice going-out-on-the-town look, you might want to read on.

FOUNDATION:

First and foremost, the foundation you use needs to be DARK. I mean really dark. Generally speaking, the color on your face needs to be only a shade or two lighter than the color on your body after you get your spray tan. For those of you familiar with MAC Foundation colors, Studio Tech NW43 or NW45 are excellent foundation shades for the majority of competitors. However, I do not like MAC foundations because 1) they are extremely comedogenic, and 2) the compacts dry out very quickly. Instead, I use Bobbi Brown Stick Foundation in Warm Walnut and that works very well onstage.

Make sure to gently exfoliate your skin prior to the day of the competition, and use moisturizer and primer immediately before applying foundation. Though I usually use a foundation brush to apply foundation for photo shoots, when working with very dark foundations for stage I find that a makeup sponge works better than a brush in applying a nice, thin yet even layer. Make sure to extend foundation onto your neck, ears and hairline, feathering out and blending. Once this is done, dust some translucent setting powder over the foundation to set it. Chanel makes an excellent loose powder which I love both for daily use and for shows.

EYES:

Usually I will do my eye makeup first, then apply foundation since using a lot of black eyeshadow can often create a lot of dust which will ruin your foundation if you have applied it prior to your eye makeup. When choosing eyeshadow colors, avoid blues, greens and purples as they tend to look garish under the stage lights. Your best bet is to stick with neutral tones. You can never go wrong with a dramatic smoky eye. If you don’t know how to do a smoky eye, check out YouTube for some great smoky eye tutorials. Also check out the image in this article which shows a perfect smoky eye for the stage. Ideal colors to use for a stage-ready smoky eye are black, champagne or platinum, a beige base, brown and perhaps a warm pink.
eyemakeupsmoekyeyes9_thumb
Here are some guidelines for creating a smoky eye with the above colors:

1. Apply eye shadow primer. I like Too Faced Shadow Insurance.
2. Sweep a beige shadow (recommended: MAC Grain) over entire lid and up along browline.
3. Apply black eyeshadow (recommended: MAC Carbon) over lid but be careful NOT to extend beyond lid crease. Extend shadow beyond outer corner of eye in a V, angling towards brow. Blend well with a blending brush. Also apply black eyeshadow to the outer portion of the lower lash line.
4. Take a brown eyeshadow (recommended: MAC Brown Down) and work into crease at outer corners. Make sure to blend this well.
5. Take a warm pink (recommended: MAC Da Bling) and sweep it over the inner and mid-portion of the lid.
6. Apply the champagne (recommended: MAC Ricepaper) or platinum shade on the browbone, the center of the lid, and the inner corner of the eye.
7. Apply black liquid eyeliner along the upper lash line, sweeping up into a cat eye at the outer corners. Please refer to the image of cat eye liner for a guideline.

Don’t forget false eyelashes! Finish off with liquid eyeliner and lots of mascara.

Make sure to also fill in your brows. I find that shadows work much better than pencils at creating a flattering look.

FACE CONTOUR:

Make sure to use a blush which is dark enough to show up on your face. MAC Dollymix is an excellent color for stage. I tend to extend the blush a bit into the side of the cheek below the cheekbone to avoid a hollowed out look, and will add a bit of bronzer to the blush when I do this.

Your contouring powder also needs to be dark, making MAC Deep Dark mineralized skin finish ideal for such a task. Apply contouring powder in an “E” on each side of the face, starting at the temple, then sweeping under the cheekbone and then along the underside of the jawline and under your chin. Make sure to blend well! A bit of highlighting powder also looks lovely when dusted lightly on the apples of the cheeks, forehead and chin, but be sure to use a light hand.

LIPS:

For your lips, choose pink or red matte shades. Avoid frosted formulas, oranges and corals as they do not translate well onstage. Also apply clear or pink lip gloss over your lipstick for a nice finish. Before you go onstage, make sure to blot the inner part of your lips with tissue to ensure that no lipstick ends up on your teeth.

IMPORTANT TIPS:

If you are nervous about how your makeup might look on the day of the show, practice your techniques until you feel comfortable. Also, make sure to give yourself enough time to apply your makeup on the day of the competition without feeling rushed. It is far better to start very early and have extra time to relax AFTER your makeup is applied than to be rushed and perhaps unable to complete your makeup application before stepping onstage.

Get The Best Skin Ever- Part 1: Lifestyle Adjustments

Beauty face of woman with clean skin

http://www.rxmuscle.com/rx-girl-articles/11853-get-the-best-skin-ever-part-1-lifestyle-adjustments.html

Please read my RxGirl article on making lifestyle adjustments that will transform your skin. You can access the original article by clicking on the link above, or keep reading here for the full article.

“What skin cream do you use? Your skin looks amazing!”

This is a common exclamation from women who admire the flawless skin of those who are either naturally dermatologically blessed or have been proactive about practicing good skin care. Perhaps you are one of the blessed individuals, but most women deal with acne, wrinkles, oiliness, hyperpigmentation, dry skin and dark circles under the eyes, all of which can be addressed with targeted products. If you practice consistent skin care with the right products, you will see improvements in the tone and quality of your skin.

Before delving into topical products in Part 2 of this article, I will utilize Part 1 here to review the many variables which can dramatically influence the quality of the skin.

Sleeping Beauty –
There’s a lot of truth to the adage about getting one’s beauty sleep. When you get adequate sleep, you optimize your body’s ability to repair itself because it has a chance to release human growth hormone in the deep stages of sleep. Conversely, cheating yourself out of a good night’s sleep results in an increase in cortisol release, which increases the amount of inflammation in the body. Basically, the inflammation prevents your cells from repairing damaged collagen, and if this occurs chronically, your skin will adopt an aged appearance. So get some quality shut-eye every night!

Don’t smoke –
I know most of you ladies don’t engage in this habit, but if you do, bear in mind that the habit breaks down the collagen and elastin in your skin, aging you prematurely. Smoking also constricts the blood vessels in the upper layer (epidermis), which interferes with delivery of oxygen and other vital nutrients which are involved in cell renewal. Lastly, the constant pursing of the lips which occurs while puffing on a cigarette causes fine vertical lines (“smoker’s lines”) to develop around the mouth.

Internal antioxidants –
We have all heard of the benefits of daily antioxidant intake and how these nutrients boost the body’s immunity, decrease inflammation, and even improve cognition, so it shouldn’t surprise you that antioxidants also promote cellular repair in the skin as well. Make sure to incorporate foods and supplements which have antioxidants such as vitamins A,C, E, cofactors like CoQ10, and polyphenols like resveratrol in them.

Hydrate from within –
Drink plenty of water, and you will be rewarded with glowing, healthy skin. Every time I have told a patient who suffered either from dry skin or from stubborn acne to drink plenty of water, I have seen dramatic improvement in the quality of their skin after they began drinking at least three liters of water per day. Adequate hydration will ensure that toxins are flushed out of cells and the cells are filled with water.

Healthy fats –
One of the hazards of competing is the tendency for coaches to completely strip dietary fat from contest prep diets. What results is a gaunt, unhealthy, aged appearance in the face which looks terrible and just screams for dermal fillers. Rather than wreak havoc on your youthful appearance, why not keep healthy fats like avocado, MCT oil, coconut oil, olive oil, flax seed, almonds, cashews, and fish oil in your daily regimen?

Limit alcohol –
Alcohol is notorious for dehydrating the skin and for that reason alone should be ingested in moderation. Also, since alcohol is toxic to the liver, it impairs the body’s ability to remove other environmental toxins which will be reflected in the quality of the skin. And for those of you who suffer from rosacea, that relaxing glass of red wine with dinner is a big no-no because it will aggravate the condition.

Clean makeup brushes –
When was the last time you cleaned your makeup brushes? Makeup brushes should be thoroughly washed on a regular basis to remove product build-up, bacteria and oils. If you suffer from acne, you need to be especially diligent about cleaning your makeup brushes regularly. As a general rule, clean foundation and concealer brushes at least once a week (twice a week if acne is a major issue). Eye makeup brushes should be cleaned every two weeks, and other brushes should be cleaned monthly. There are some excellent brush cleaning solvents, but you can mix one part baby shampoo with four parts water for an excellent and cheap brush cleaner.

Sanitize cell phone –
Cleaning your cell phone on a regular basis is a good sanitary practice to adopt, and can also save your skin from acne breakouts and rashes. Think for a minute how much you touch your phone and how much dust, ear wax and fingertip residue can accumulate on its surface. It’s no surprise that putting this bacteria- riddled device next to your cheek can cause skin flare-ups to occur. The best way to clean your phone is to use a soft cloth which is lightly sprayed with a dilute isopropyl alcohol solution (equal parts iso alcohol and water).

Stay tuned for Part 2 of this article which will cover topical products and treatments for luminous, youthful skin!

Eye Makeup Removers And Eye Irritation

Сleaning woman face with cotton pads. Cosmetic treatment.

I used to get allergic blepharitis from time to time, which is characterized by severe swelling and redness of the eyelid from an allergen. It was ugly and painful and took about a week to resolve with warm, wet compresses, lid cleanses two to three times daily, and prescription eye ointment. Interestingly enough, this was when I was experimenting with a lot of different pigments from MAC Cosmetics and using a considerable amount of eye makeup remover. After doing some sleuthing, I discovered that my flareups all stemmed from two substances: bismuth and benzylkonium chloride. Bismuth is a mineral which is frequently used in eye shadows and eye pigments, while benzylkonium chloride is commonly used in eye makeup removers. As soon as I switched eye makeup remover brands and stopped using certain eye makeup items, the horrid eyelid irritation vanished.

In this post, I am picking solely on eye makeup removers because there are major brands which contain benzylkonium chloride. Here are two major brands which I used to use.

Neutrogena Oil-Free Eye Makeup Remover –

This is a very popular brand and used to be my staple. But check out the label ingredients: Water, Cyclopentasiloxane, Cyclohexasiloxane, Aloe Barbadensis Leaf Juice, Benzyl Alcohol, Sodium Chloride, Dipropylene Glycol, Poloxamer 182, Allantoin, Tripotassium EDTA, Benzalkonium Chloride, Glycerin, Cucumis Sativus (Cucumber) Fruit Extract, Potassium Phosphate, Dipotassium Phosphate. Little did I know that I was potentiating the blepharitis by using a makeup remover!

Lancome Bi-Facil –

This was my mom’s favorite, but because of the benzylkonium chloride I cannot use it.

You may be wondering how I figured this out. Because I am a physician, published researcher and a scientist, I know how to apply deductive reasoning, as well as set up experiments. Although I could include clinical data here, I would rather give a simple explanation of how horrible and harmful benzylkonium chloride is. Here is a succinct and excellent description:

“The Cosmetic Safety Database states that there is a moderate to strong evidence that benzalkonium chloride is an immune, skin, and respiratory toxicant, with laboratory tests hinting at mutative (carcinogenic) effects. The safety data sheet (MSDS) indicates the ingredient is a skin and eye irritant, and can be corrosive to both, with the amount of damage depending on the length of contact.” (From http://www.annmariegianni.com/)

I don’t know about you, but I don’t feel very comfortable about coming into contact with a substance that is so harmful. What is especially disturbing is that this substance is found in hand sanitizers and eye drops. It is worth spending an extra minute to read ingredient labels before you purchase something that might contain a harmful ingredient.