Stand holding dumbbells at your sides and palms facing in. Another variation is to use one heavier dumbbell which would be held on the side of your supporting leg, with your other hand on your hip as you perform the movement. Bend forward at the hips as you raise one leg behind you, squeezing your glute as you do so. As you do this, bring the dumbbell(s) down so that they almost touch the floor, and pronate or twist your wrists so that your palms face your body as the weights come towards the floor. Return to start. Make sure to keep your knees soft throughout this movement, and if you have issues with your knees, maintain a slight bend in them. You will perform all repetitions on one leg before switching to the other side.
Page 163 of 199
Dancing Onstage
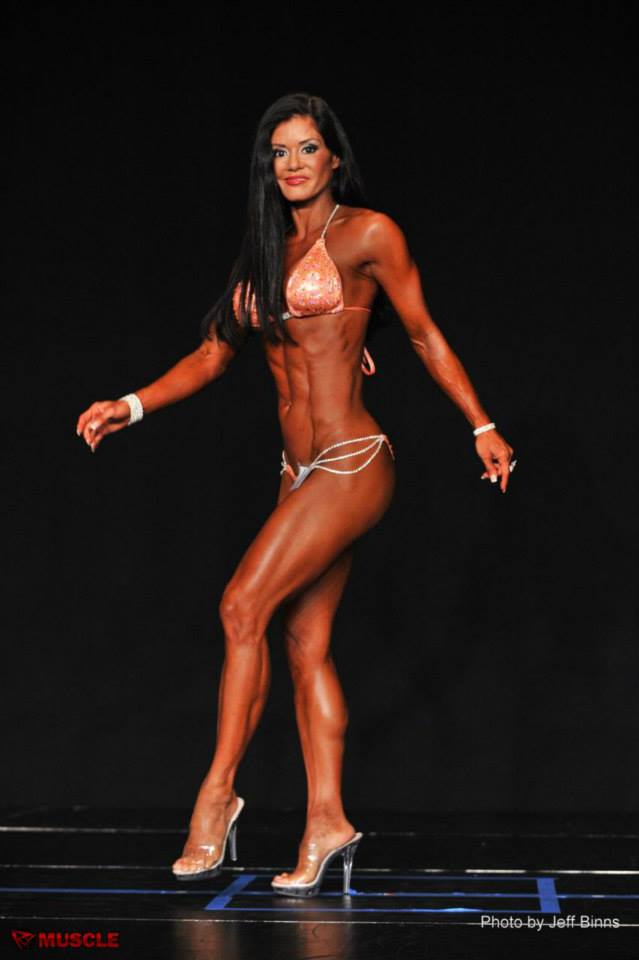 If you compete in Women’s or Men’s Bodybuilding, Women’s Physique or Fitness divisions, you may incorporate dance moves as part of your routine onstage. Dance moves are always a crowd favorite and add to the entertainment value of a posing routine, breaking up the monotony of hitting one mandatory pose after another. But I am not talking about true dance moves here. What I am talking about is the flow of energy and the fluidity which a competitor should ideally bring onstage regardless of the division in which he or she competes. This includes Figure, Men’s Physique and Bikini divisions.
You may exclaim, “But I am not a dancer!”, and that is fine. You don’t need a dance background to move gracefully onstage. However, when you step onstage, your movements should look effortless and should demonstrate the confidence you should have while up there. The worst thing you can do is to have a deer-in-headlights look or to move like a robot because you are overthinking your steps. It also will NEVER serve you to get nervous onstage. So how do you combat these obstacles to really bringing it onstage and crushing the competition? Here are some tips to help you develop that flow and swagger before you hit the stage.
TIP #1: PRACTICE PRACTICE PRACTICE!
You should be practicing walking and posing as MUCH as possible! Make sure to wear your suit or trunks whenever you practice so that you can become aware of how the attire fits your body and shows off your lines as you move. Figure and bikini ladies need to practice in their show heels so that they can become aware of shifts in their center of gravity as they move. Once you have your basic poses down, work on your turns and transitions. Finally, once you are VERY comfortable with your posing, you can add flourishes and styling which are reflective of your personality.
I tell clients to walk around their homes wearing their contest heels not only to break them in but to also get used to how they carry their bodies when wearing those heels. A pair of regular street heels won’t quite do it either, so make sure to wear the shoes you will actually be wearing onstage. Do NOT get high platforms because they are tricky to wear onstage and will increase the chance of tripping or twisting your ankle, and they also make your leg line look very chopped up and clunky. You won’t be fooling anyone by getting Frankenstein platforms, trust me!
TIP #2: VIDEOTAPE YOURSELF AND USE MIRRORS
A great way of getting feedback (besides having competitor pals watch you pose, which I also recommend) is to videotape yourself walking and hitting your poses. You may think you look great, but by watching footage, you may pick up on some bad habits or angles which you can then work on before contest time. After competing for several years I honestly think that videotaping yourself is an indispensable tool when practicing your posing.
Whenever possible, you should also practice in front of a mirror. I used to practice in a dance room which had mirrors on three walls so I could check out my posing from all angles, but if you don’t have access to a room like that, you can just practice in front of an inexpensive full length mirror.
TIP #3: WATCH YOUTUBE VIDEOS
I always advise clients to watch YouTube videos from NPC National and IFBB Pro events in order to learn from top competitors. Watch the competitors who get first callouts because their posing plays a big part in their top callouts. You can usually tell which competitors will end up doing well because they make the poses look like second nature, moving gracefully or purposefully from one pose into the next. One word of caution: if you are a local or new competitor, do not try to add the styling that the pros add. For one thing, that sort of thing will come with time and experience onstage. Secondly, most judges do not like all the unnecessary flourishes and will mark you down if you add too much “flavor”. Keep your transitions nice and clean.
TIP #4: GET A POSING COACH
I think every competitor can benefit from having a posing coach, even if they just have one session. A posing coach will lend a trained eye and correct any bad habits, making adjustments so that the client’s physique is displayed in the best way. Even the slightest shift of the hips can look great on one body and horrible on another. If you are in the Los Angeles area, I am available for one-on-one posing, but if you reside elsewhere, there are some excellent posing coaches out there who can help you out. Make sure to select someone who knows how to pose for your particular division!
TIP #5: FLUIDITY
Once you have been practicing posing for a while, you can work on making your movements as fluid as possible. This means that when you transition from one pose to the next that you don’t look like a robot when doing so. It also means getting out of your head! I have seen competitors who are obviously thinking about their next pose, and their movements end up looking very choppy. You should not be thinking, “okay, front pose, then I will step with my right, er, my LEFT foot, then ummmm…” because that will ensure a very unappealing presentation onstage. You can have your internal chat before you step onstage, but leave it backstage where it belongs.
TIP #6: SMILE!
Perhaps the best thing you can wear onstage to engage the judges and the audience is a smile. You need to look like you are having a blast onstage, not like you are dreading those few minutes up there. This definitely means that you will be smiling so much that your face may end up fatiguing from it, but believe me, it makes a big difference.
TIP #7: DON’T BE NERVOUS
I remember being very nervous the first few times I competed. Then after a while I thought to myself, “What is the point of being nervous?” and all my jitters sort of melted away. This doesn’t that mishaps don’t occur, but your attitude about them makes all the difference in the world. I was at the IFBB North American in Cleveland in August of 2011 and I kind of tripped over my feet when doing a transition during overall comparisons. Instead of getting rattled I just kept moving and it wasn’t a big deal at all. I have also heard a story about a competitor whose top flew open during her posing routine. She kept going, topless, until she finished her poses, then picked up her top from the stage floor and walked off!
If I ever start to feel any kind of nervousness (which at this point is very rare), I remind myself that I know most of the judges and many of the other competitors, and that unless I do something really stupid onstage, I have absolutely NOTHING to worry about. Leave your anxiety and jitters off the stage and just get up there and have fun!
Discussion of Bump To Rump Video Series Exercise #9 – Side Single Leg Press
Sit on leg press machine so that you are supporting your upper body on one side instead of on your back, with your bottom leg nestled on the floor to add stability. Place your other foot on the foot plate so that your toes are near the side edge of the plate. Push plate up, emphasizing pushing through your HEEL and squeezing your glute as the plate moves up. Return to start. Perform all repetitions on one leg, then switch to other side. This is more challenging than a single leg press that is performed when you are on your back, so use a lighter weight and concentrate on your form. As long as you are driving through your heel and getting that glute squeeze in, you will feel the burn even with a light weight.
Try stacking side single leg presses in a superset with weighted bench step ups or swing lunges to really blast the glutes and hams.
Discussion of Bump to Rump Video Series Exercise #10 – The Canadian Deadlift
Several months ago Ian Lauer IFBB Pro and I developed the Bump To Rump Series as a follow up to the Glute Series videos, and decided to open the series with a relatively unusual exercise called the Canadian deadlift. Though I explain the movement thoroughly in the video, I will describe it here for clarification. To begin this exercise, you will stand with feet shoulder width apart, holding a barbell or EZ curl bar at your hips with arms fully extended. Bend at the waist until the bar is at the floor, then bend at the knees fully so that you are crouched with bar on floor. Straighten out knees, then slowly straighten out torso so that you return to standing position.
Due to the complex nature of this movement, you should use a relatively light weight. For example, with regular barbell stiff-legged deadlifts, I use 40 to 50 pounds, but with Canadian deadlifts, I only use 20 pounds. This is a great deadlift variation if you are getting tired of regular stiff-legged deadlifts and want a change in your routine.
My Shoe Storage System
Over the years I have come to realize that if my belongings aren’t kept in order, I start to forget what I have and cannot find many items when I need them. Fortunately I have a penchant for organization (some would say it is the sign of a “neat freak”to some extent), so I have developed different ways of storing things so that I can keep track of them.
I have always kept the original boxes that my fancier shoes have come in, making them easier to stack on top of each other. By 2007 I had about 50 nice pairs of shoes and was having trouble finding shoes without having to peek inside the box. In an effort to solve this, I took photos of each pair of shoes I had, printed them out and taped them onto the ends of the boxes. This turned out to be a great way of identifying as well as organizing my shoes. I also try to group shoes by color and degree of dressiness to make it easier to zero in on a particular pair I might need for an occasion.
Last year I passed the 70 mark on the number of pairs of shoes I owned, and purchased two tall storage cabinets to house them. They have made life so much easier for me! I have also established a rule, which is that I cannot exceed the amount of storage in these two cabinets. This will ensure that I don’t accumulate too much stuff, and that I don’t make too many purchases. 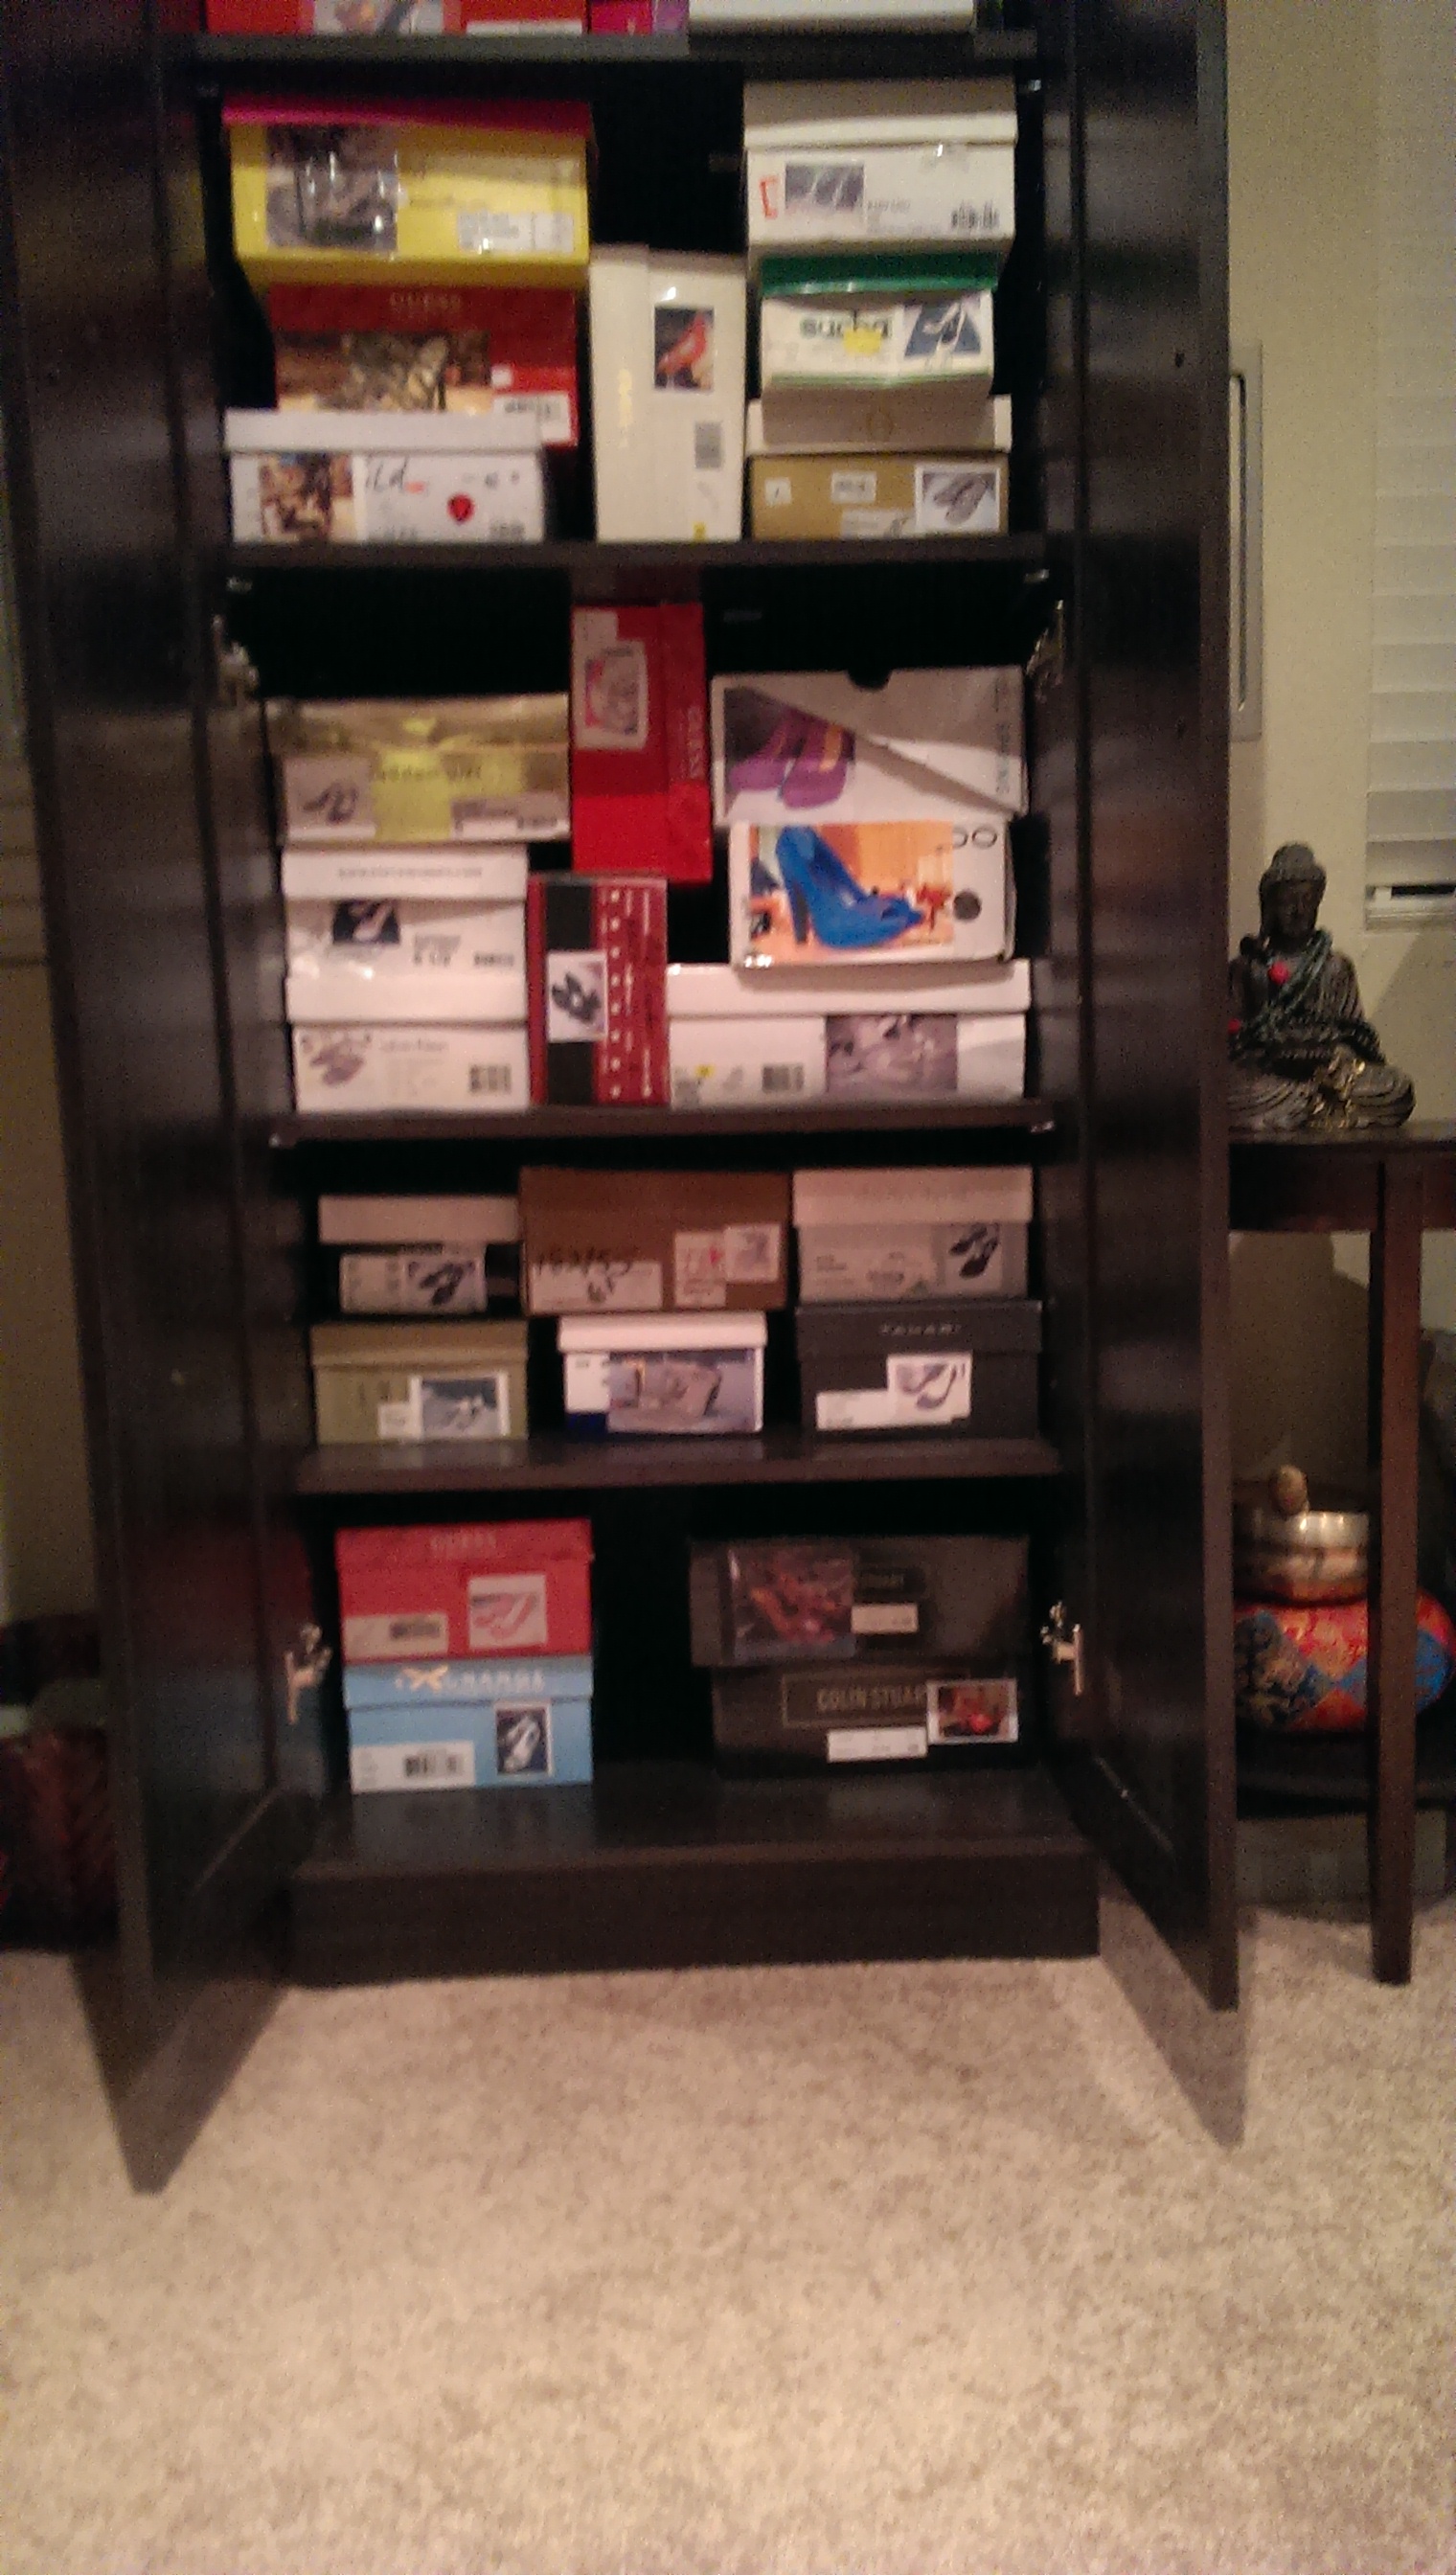
Booty Blasting Routine Superset 3 Video
Since this was the most popular of the four videos that comprise this series, I figured I would re-post again on my blog…enjoy!
My YouTube Video About Pre-Workout Formulas
Benefits Of Threading
I had gotten my brows waxed for a number of years and enjoyed the fact that it was a quick process. I was lucky enough to find a handful of competent waxing professionals who knew how to do the job without butchering my natural brow line. However, about a year ago I noticed that I had some irritation and swelling right after waxing, and assumed that it was from the astringent which was used to clean off the oil. Then a few months after that, when I had switched over to a new place, I developed a reaction to the aloe vera which was applied. Finally, I broke out into a rash from the wax itself, which prompted me to seek out threading. Luckily, there was a threading place in the mall, so I decided to check it out a couple of months ago.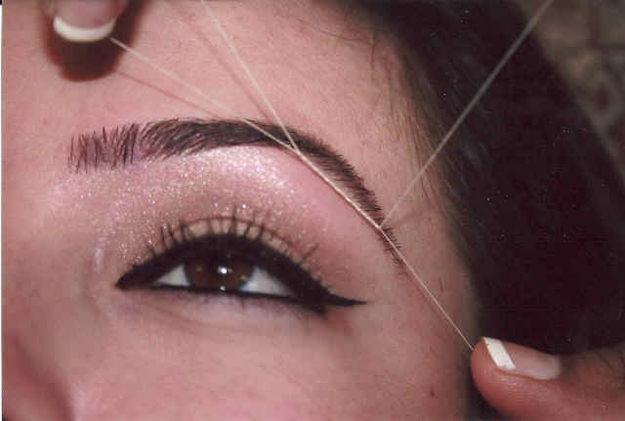
Threading is an excellent choice for people who develop skin irritation to waxing since there are no substances or chemicals applied to the skin. There is no risk of breakouts, burns or skin removal that can occur with waxing either. No uncomfortable “growing out” period is necessary because threading removes the shortest of hairs. However, it is pretty uncomfortable in some areas, and because it takes longer to do, the discomfort is prolonged. Threading appears to be more precise and large areas can be cleared quite easily (such as at the temples). The technique consists of using cotton or polyester thread which is doubled and twisted tight, then rolled over the treated areas to pluck out unwanted hairs. It is fascinating to watch these ladies move their hands with a twisting flourish, rolling over the skin and plucking out hairs quickly and efficiently. I also love the fact that there is no sticky residue left on the skin as with waxing.
If you haven’t checked out threading and are already able to tolerate the discomfort of waxing, I encourage you to check it out! Brows, cheeks, upper lips, chins, foreheads, necks, hands and fingers can be treated with this technique.
Two Magic Ingredients To Prevent Diabetes
 Diabetes mellitus is a devastating disease which affects every organ system in the body and which affects over 300 million people worldwide, with over 4 million deaths resulting from diabetes-related complications each year. With such staggering statistics, it makes perfect sense to change one’s eating habits so that lower glycemic index foods are favored over high index foods. In addition, one can look into insulin mimetics. Insulin mimetics are substances which mimic the action of insulin, thus supporting it and guarding against the development of insulin resistance which precedes progression into diabetes.
 One insulin mimetic is methyl hydroxychalcone polymer (MHCP) which is found in cinnamon. Unless you have severe heartburn, you can and should eat cinnamon daily. I always recommend sprinkling cinnamon on oatmeal or cream of wheat, but you can also take cinnamon in capsule form. Another insulin mimetic is lipoic acid, which increases the expression of glucose receptors on muscle cells. For individuals who are susceptible to insulin resistance, I highly recommend incorporating both of these substances in to their daily regimen. Start with 300 milligrams of alpha lipoic acid and sprinkle cinnamon onto your morning oatmeal.

Omega Fatty Acid Benefits
Unless you have been living under a rock you have heard a fair amount about omega 3 and omega 6 fatty acids, both of which are used in supplements. The reason why omega 3 and omega 6 fatty acids are packaged together in supplements is because they are essential, meaning that while our bodies require them, we are unable to manufacture them and must obtain them from outside sources. Omega 9 fatty acids are non-essential, meaning that our bodies manufacture them as the need arises. Research has shown that omega 3 fatty acids are by far the most important of the different types.
Omega fatty acids reduce low density lipoprotein (LDL, or bad cholesterol) stores in the body and reduce inflammation in the body. In so doing, they decrease the risk of heart disease as well the risk of Alzheimer’s disease and cognitive decline. Those of you who prefer to get nutrients mostly from food sources will find high levels of omega 3’s in fatty fish such as salmon, tuna and mackerel, as well as walnuts and flax, while omega 6 sources include soybeans, sunflowers, nuts and seeds.
 However, if you have a concern that you might not be able to get sufficient amounts of omega 3’s into your daily diet, you can take supplements. Beware of supplementation with omega fatty acids if you have a blood clotting disorder or are taking anticoagulant medications such as aspirin or warfarin. My favorite supplement is Ultimate Omega from Nordic Naturals (pictured here). This is completely burpless, meaning that you won’t get a fishy “repeat”after taking these gel caps.
