


Taken by Noel Daganta. All rights reserved.

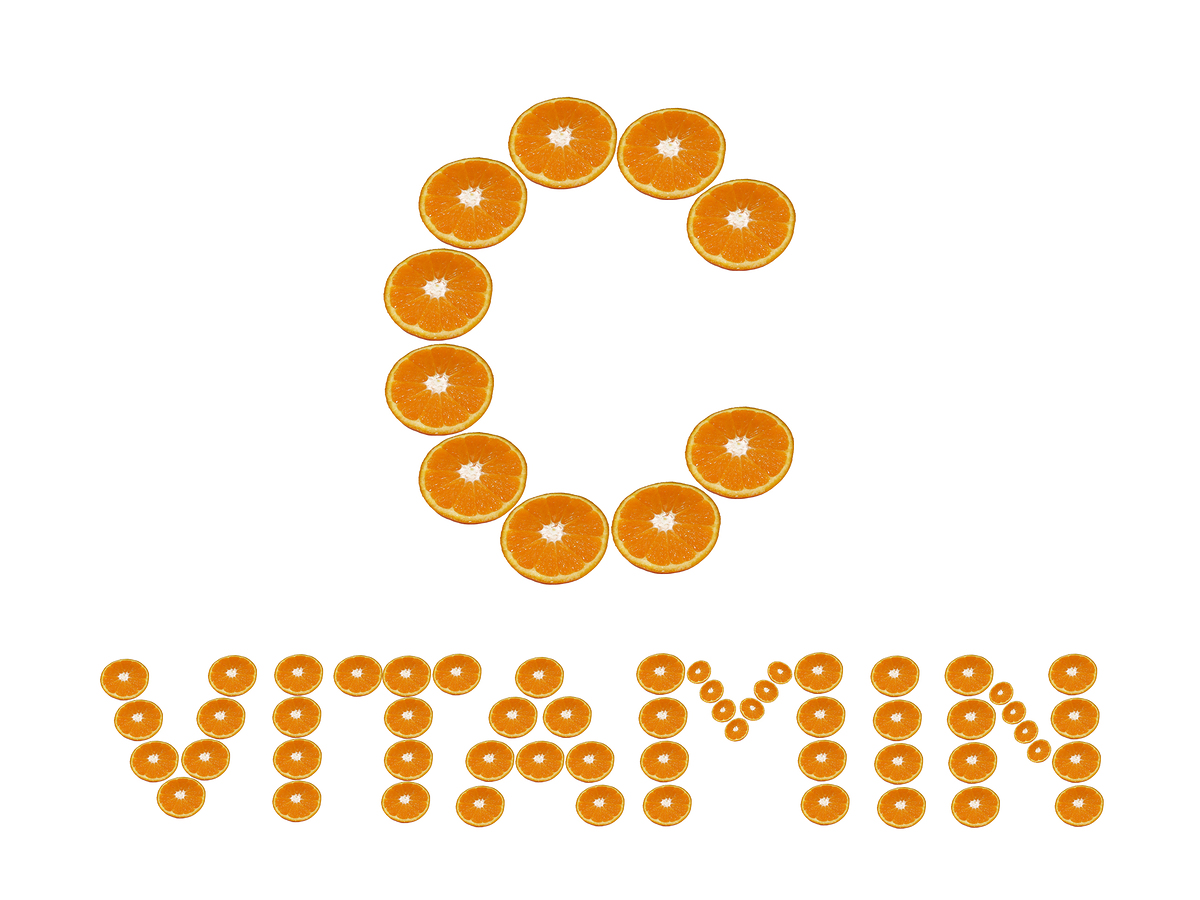 I am a huge believer in the antioxidant benefits of Vitamin C and encourage its use systemically and topically. Vitamin C (also known as l-ascorbic acid), is fantastic for lightening up brown spots of all kinds, and also enhances the integrity of the skin, making it firmer by boosting collagen production. Vitamin C is also a great exfoliator and leaves skin with a healthy glow.
There are a myriad of cleansers, toners, serums and moisturizers available these days, but many of these products can be quite expensive. One example is Obagi-C Cleansing Gel which is fantastic but which costs about $34 for 6 ounces, so I use Earth Science Clarifying Facial Wash which is about $7 for 8 ounces. I have been using the Eaarth Science brand for years and I absolutely love it!
The vitamin C serums tend to be the priciest of the vitamin C skincare products, so many people will omit this product when I honestly think it is the most important type of product for aging skin. In an effort to help people achieve great skin while on a budget, here is a do-it-yourself vitamin C serum formula you can mix up at home. Some people use glycerin when mixing up vitamin C serum at home, but I find this substance to be troublesome for oily skin, and I am not a big fan of essential oils because they can often cause irritation on sensitive skin. I personally like the formulation below because it is good for oilier and reactive skin types. If you have severely reactive skin, you can use distilled water instead of rose water.
Make sure to purchase a dark glass (either dark amber or cobalt blue) container, perhaps one with a dropper tip or a spray nozzle, to store your serum. The dark glass container is essential for preventing breakdown of the unstable vitamin C molecule. I also advise storing this in the fridge to maximize potency.

Dr. Naito’s DIY Vitamin C Serum:
1/4 teaspoon Vitamin C (aka l-ascorbic acid) powder or crystals (you can find this at most health food stores)
1 teaspoon hyaluronic acid
1 tablespoon rose water
If you use crystals instead of powder, make sure to pulverize the crystals well with a mortar and pestle before adding the other ingredients. Mix all ingredients well. This yields about a 6% strength serum. Apply to cleansed skin at night. This supply should last about ten to fourteen days.
If you want a stronger concentration, you can mix the following ratio of ingredients for a 10% concentration of vitamin C. If you experience stinging or burning, return to the lower potency.
Dr. Naito’s DIY High Potency Vitamin C Serum:
1/4 teaspoon Vitamin C powder or crystals
1 teaspoon hyaluronic acid
1-1/4 teaspoon rose water ***note that the amount of rose water used is smaller than in above formulation.
I had gotten my brows waxed for a number of years and enjoyed the fact that it was a quick process. I was lucky enough to find a handful of competent waxing professionals who knew how to do the job without butchering my natural brow line. However, about a year ago I noticed that I had some irritation and swelling right after waxing, and assumed that it was from the astringent which was used to clean off the oil. Then a few months after that, when I had switched over to a new place, I developed a reaction to the aloe vera which was applied. Finally, I broke out into a rash from the wax itself, which prompted me to seek out threading. Luckily, there was a threading place in the mall, so I decided to check it out a couple of months ago.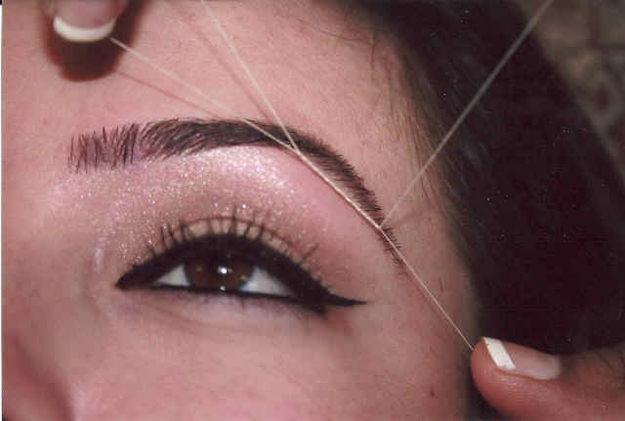
Threading is an excellent choice for people who develop skin irritation to waxing since there are no substances or chemicals applied to the skin. There is no risk of breakouts, burns or skin removal that can occur with waxing either. No uncomfortable “growing out” period is necessary because threading removes the shortest of hairs. However, it is pretty uncomfortable in some areas, and because it takes longer to do, the discomfort is prolonged. Threading appears to be more precise and large areas can be cleared quite easily (such as at the temples). The technique consists of using cotton or polyester thread which is doubled and twisted tight, then rolled over the treated areas to pluck out unwanted hairs. It is fascinating to watch these ladies move their hands with a twisting flourish, rolling over the skin and plucking out hairs quickly and efficiently. I also love the fact that there is no sticky residue left on the skin as with waxing.
If you haven’t checked out threading and are already able to tolerate the discomfort of waxing, I encourage you to check it out! Brows, cheeks, upper lips, chins, foreheads, necks, hands and fingers can be treated with this technique.
While the bodybuilding world has allowed competitors over the age of 35 to compete, there has always been an undercurrent of ageism. It is true that older competitors do not have the skin tautness of younger competitors, and that they must train harder than their younger counterparts to stay in the race. However, masters competitors have stood up to the challenge and give new meaning to the idea of acing gracefully. I love the look of shock that washes over a person’s face when I tell them how old I am (47), or how old Lizzy Fitchner (53), Janet West (52), or Mary Dent (53) are. I am amazed by these ladies and so proud of them!

I am rooting for this incredible woman and dear friend to get that Pro Card! She took a 3rd Place finish in Masters 45+ Bikini B Class at Masters Nationals in July. I adore Lizzy!

Janet West IFBB Pro always looks amazing! Here she is at Tampa Pro from last weekend.

Mary Dent earned her IFBB Pro Card at Masters Nationals in July by taking a 1st place finish in Masters 45+ Bikini B Class. Awesome!

Shot taken August 2nd, 2013

Most of you have baby aspirin somewhere in your medicine cabinet but have not considered using it on your skin. If you have oily or acne-prone skin and are not allergic to salicylic acid, you can make a mask which will leave your skin soft and will also calm down acne eruptions. You can either use one teaspoon of water, or you can use lemon juice. Add 4 to 6 baby aspirin tablets or three 325-milligram asprin tablets. Make sure to AVOID coated (aka enteric) aspirin because it will NOT easily dissolve or crush. Next, add about a tablespoon of honey and mix.

This mixture is then applied to the skin in an even layer. If you prefer to get some exfoliation, you can rub it into the skin using a circular motion for a couple of minutes. Allow this mixture to sit on the skin for about ten to fifteen minutes, then rinse off and apply your regular moisturizer. Do not be alarmed if your skin tingles after removing the mask. You can safely apply this mask to your skin one to two times a week.
You can’t beat the economical price of this mask, and it is easy to mix and apply. Many people who suffer from excessively oily skin and acne breakouts swear by this miracle concoction, so it is worth a try if you have similar issues with your skin.
