Arnold Sports Festival 2015

BannerAd-web

For the first time ever, I am actually going to attend the Arnold Classic and Bikini International Finals at the Battelle Grand in Columbus, Ohio on Saturday, March 7, 2015. I am so excited to be able to watch these prestigious competitions from the audience!

This year will be the second year in which I will NOT be working a booth but instead will visit the Expo as a spectator, so it will be a very different Arnold experience for me this time around. I actually prefer to work a booth, but it will still be nice to see friends and fans, network, and have the freedom to come and go. Another big change this year is that it will be the first year that I will be staying at a hotel which is immediately adjacent to the Columbus Convention Center, which means I can keep exposure to the bitter cold and snow to a minimum!

For those of you who are unable to attend the Arnold Classic, tune into the live webcast on Bodybuilding.com. Simply go to the Bodybuilding.com website and click on the link!

2015_Arnold-Sports-Festival-Website-Ad_300x300

Posing Essentials For NPC Figure And Bikini Divisions

Originally posted on RxGirl on Sunday, 17 February 2013. The original post was published with white text on white background, so the only way to read it on the site is to highlight the text. To make things easier for everyone, I have copied and pasted the article here for you to read.

http://www.rxmuscle.com/rx-girl-articles/7521-posing-essentials-for-npc-figure-and-bikini-divisions.html

Figure Front
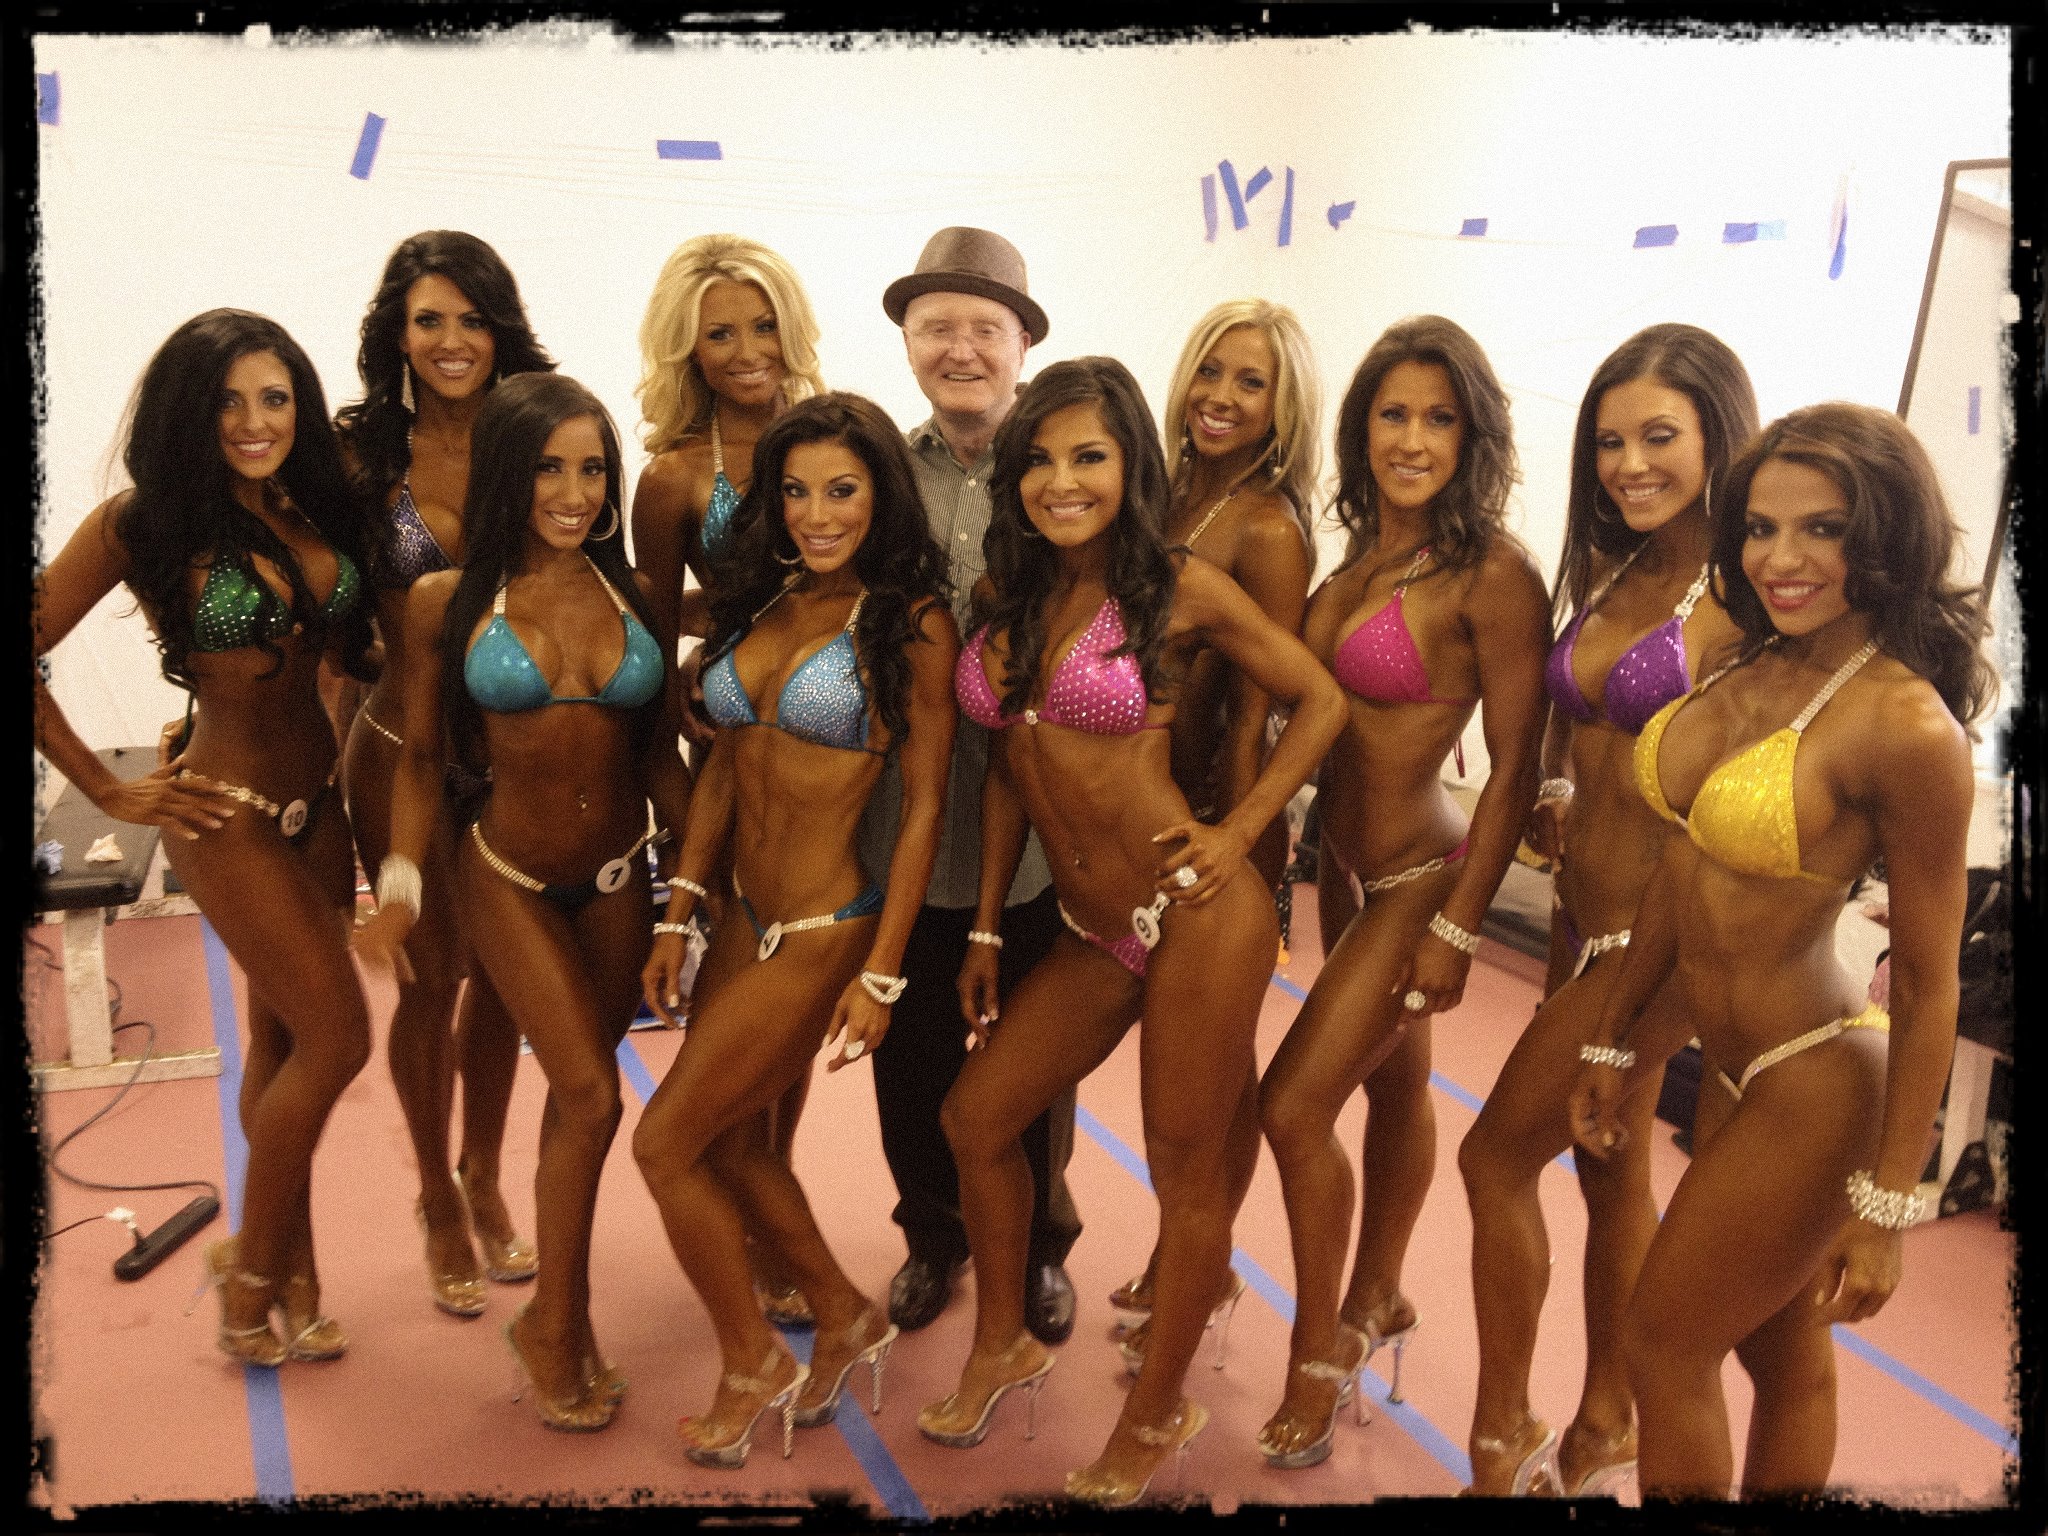
With so many ladies vying for top placings at NPC local and national shows, a primer on how to pose is essential. When I serve as trophy girl at Jon Lindsay’s contests, I notice a lot of girls who do not have a clue on how to pose and who clearly do not know how to display their hard-earned physiques to their best advantage.

I have broken down posing essentials by division, describing each mandatory pose as well as transitions. I also STRONGLY advise you to do the following:

1. Watch videos on YouTube of competitors who have done well at competitions at your level, whether it be local or national.
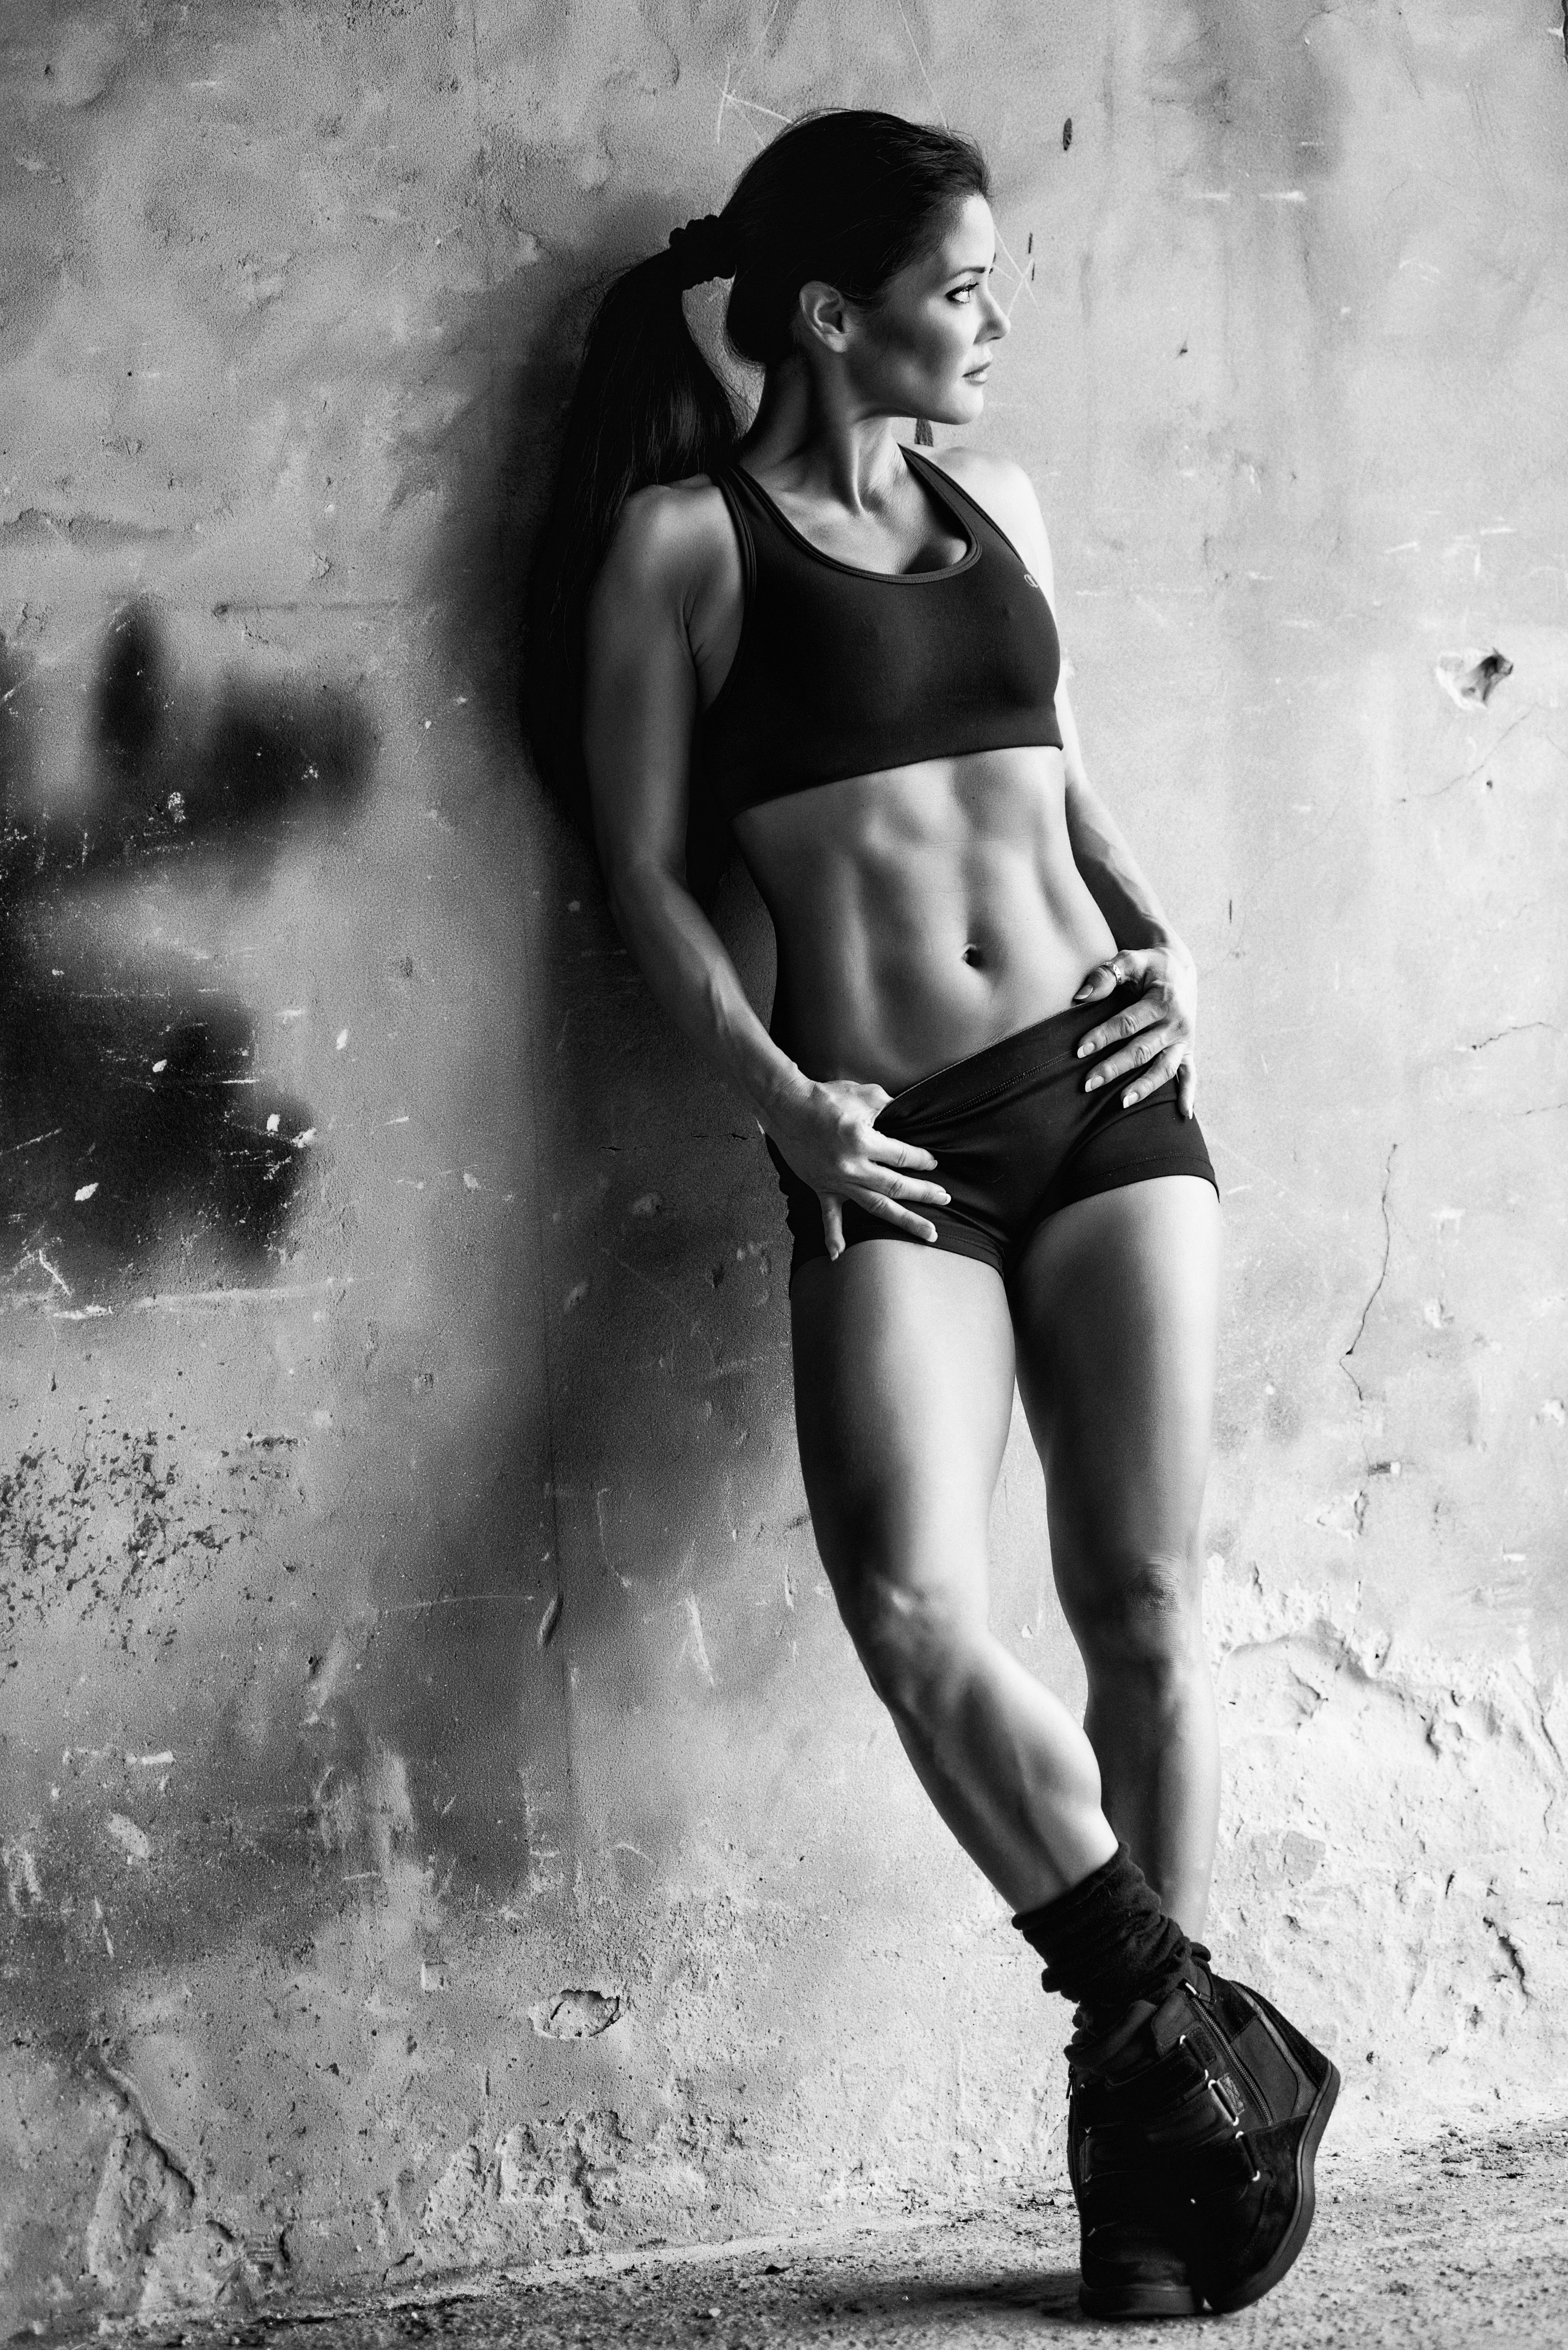
2. Practice, practice, practice! Schedule regular practice sessions so that you are comfortable with walking, posing and doing comparisons. Practice IN YOUR SUIT AND HEELS in front of a mirror! It makes a huge difference when you pose in the outfit you will be wearing onstage. You will be able to see the lines of your body when you practice in your suit and the heels will shift your center of gravity as well. In addition, you will be able to break in your shoes before contest day. It is also helpful to have someone shoot some video footage so that you will have feedback on how you look when you pose.

FIGURE:
With the Figure Division, the steps taken are very small and the hips are kept level in an effort to preserve the competitor’s symmetry. Figure poses are defined by a close foot stance.

Quarter Turns = Mandatory turns, front, sides and back. In side posing there is a slight torso twist. Make sure to hold each pose for two seconds (“one one thousand, two one thousand”).
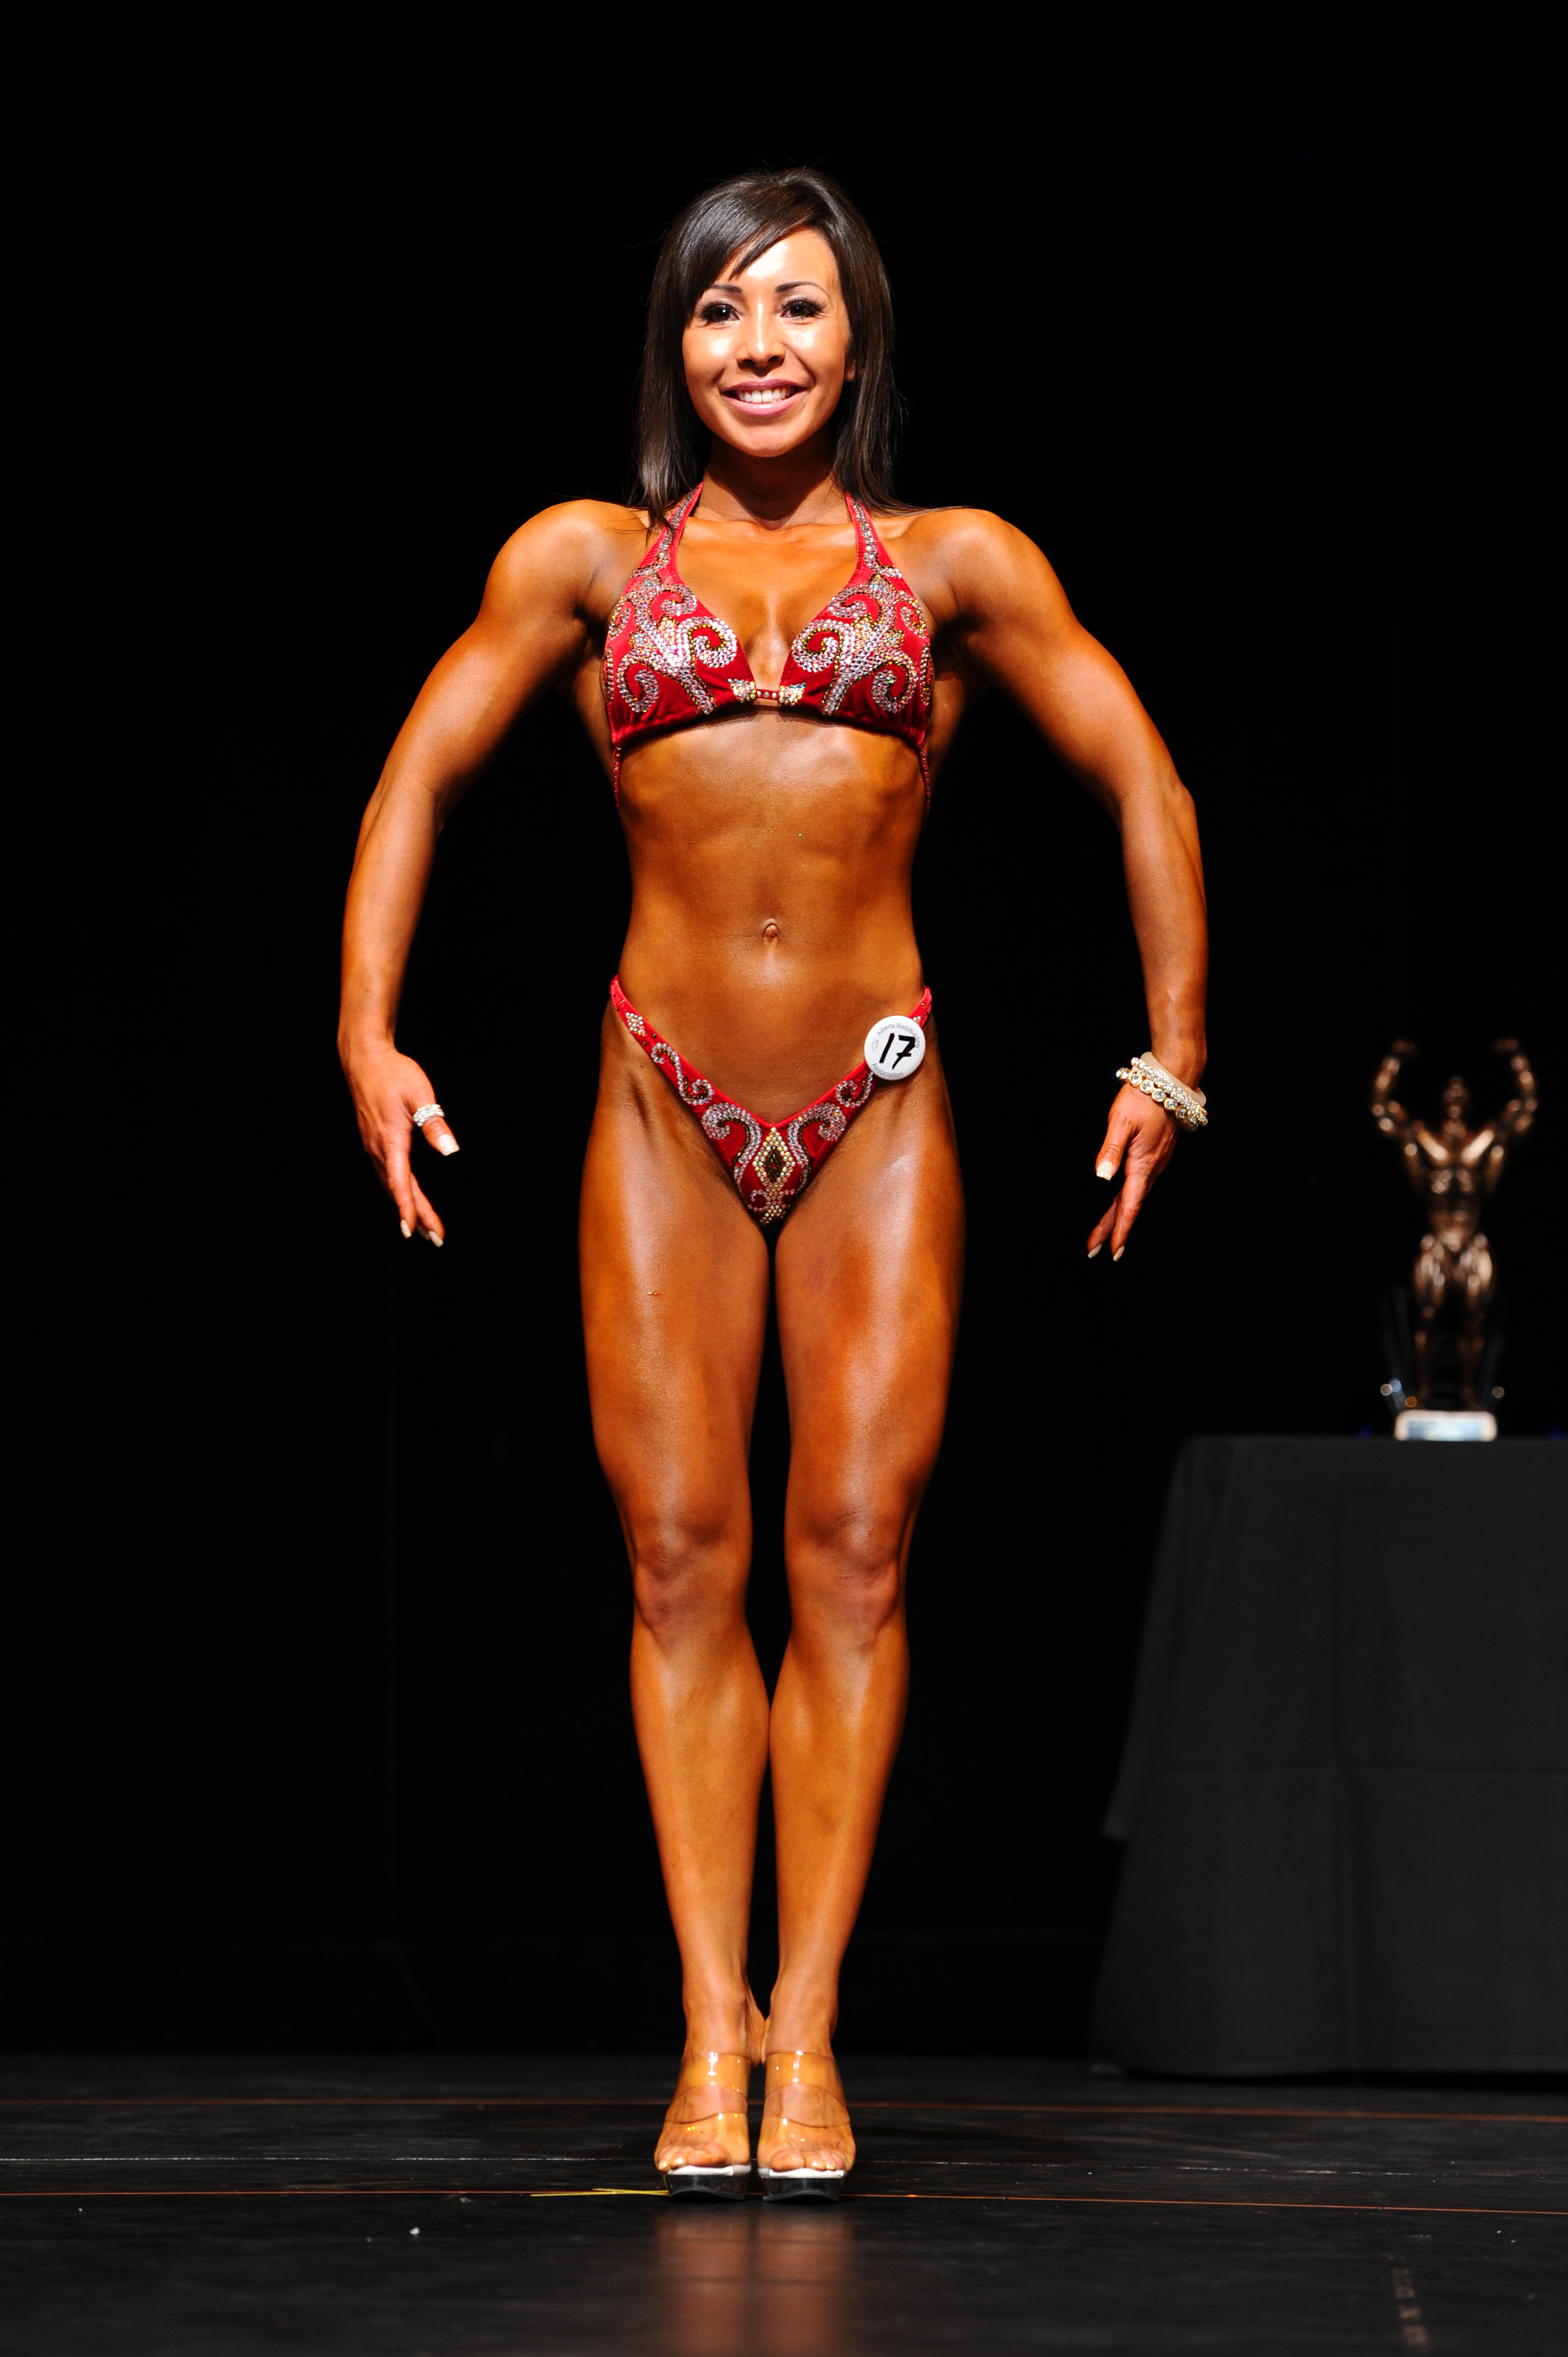
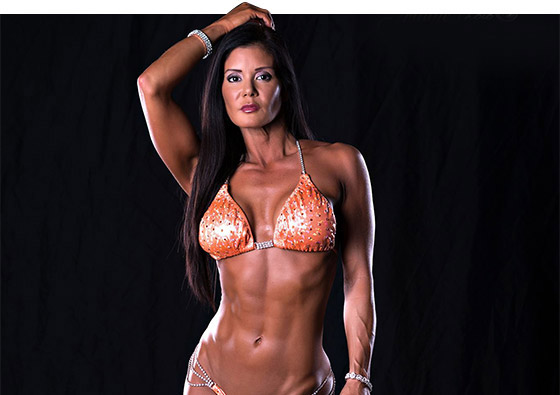
FRONT: Feet and legs together, can turn toes out and turn knees out slightly to accentuate quad sweep. Keep hips slightly bent, stretching out abs, lifting chest out and engage your abs and quads. You will also flare out your lats. Arms will be out to side and forearms and hands graceful and relaxed.

SIDE STAGE RIGHT: Feet and legs together. You will twist your torso slightly toward audience while keeping a slight bend at the hips. Place front arm slightly behind you and back arm in front of the body and make sure those hands are graceful! Engage those abs! You will be looking stage right and NOT at the judges, but be sure to smile and keep your chin up!

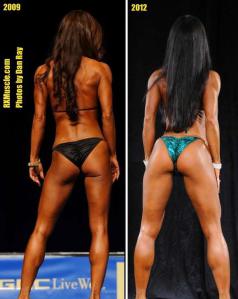
BACK: Stand with feet and legs together with your bodyweight shifted onto your toes. Stick your butt up and out to smooth out your hams and glutes, and tighten your hamstrings and glutes. Whatever you do, do NOT squeeze your glutes together or you’ll enhance ripples and other imperfections back there. Make sure to engage your entire back and flare your lat region while also keeping shoulders extended to sides to enhance their caps. Tighten upper arms with a very slight bend in the elbow, but also keep forearms and hands relaxed and graceful, with your hands within a few inches from your hip line. If you have long hair, you will need to move it to the front so that you can display your back fully.

SIDE STAGE LEFT: Feet and legs together. You will twist your torso slightly toward audience while keeping a slight bend at the hips. Place front arm slightly behind you and back arm in front of the body and make sure those hands are graceful! Engage those abs! You will be looking stage left and NOT at the judges, but be sure to smile and keep your chin up!

TRANSITIONS: Transitions are even more difficult to master as they should look graceful without losing your body lines as you do so. You can transition one of two ways:
1. Step slightly forward and to the right with your left foot, slightly crossing in front of right foot. Pivot one quarter turn to the right on your left foot, then plant right foot into next pose.
2. Step to the right with your right foot, then pivot body one-quarter to the right as you step with left foot and then hit your pose.

With both methods, you need to make sure that the arm which faces the audience should be held behind you slightly so that you are not covering the side of your body. This is also known as “opening up” the arm.
STANDING ON THE DIAGONAL: You will stand at the diagonal with a slight twist to the waist so that your upper body is angled more toward the audience while your lower body is angled towards the center of the stage. Make sure to hold the arm that is close to the audience out to the side so that your body lines are visible. Your other hand can rest on your hip. Also make sure that no matter how you stand that your competitor number is visible! The entire time, you should be keeping everything tight and smiling!

BIKINI:
The Bikini Division is defined by larger steps and a shifting of weight onto one hip during the front pose and turns in order to increase the illusion of an S-curve. The standard front and back poses involve a wide stance with feet wider than shoulder width apart.

Half Turns = mandatory turns, front and back. Make sure to hold each pose for at least two seconds (“one one thousand, two one thousand”).
FRONT: Stand with feet wider than shoulder width apart and angle one hip slightly back. This increases the S-curve in your torso. Stretch out abs, lift chest out and pull shoulders back. You can place your hand on the hip that is angled back, while the other arm can hang gracefully at your side.
Bikini Front
BACK: Stand with feet shoulder width apart or wider and stick your butt up and out to smooth out your hams and glutes. I always tell my contest prep clients to think of themselves as cats in heat, with their butts high up and an exaggerated curve in the low back to emphasize the roundness of the glutes. Whatever you do, do NOT squeeze your glutes together or you’ll enhance ripples and other imperfections back there. Your upper body must be completely upright – do not hunch forward! Most girls will place their hands on their anterior thighs for extra stability while holding this position.

Another position which is very popular in this division is to stand with one foot crossed in front of the other, while popping that butt up in the air.

TRANSITIONS: The cleanest bikini transitions are similar to a salsa pivot turn.
1. Step forward with the leg that is further back on the stage.
2. Step slightly forward with the other foot and pivot to the other side so you are facing to the side of the stage. In other words, if your first step was with the left foot, you will step with your right foot and pivot to the left so you are facing stage left. When you transition from front to back, pop your butt out towards the audience to enhance its fullness.
3. You will then do a two step sequence so that your feet land in your next pose stance.

STANDING ON THE DIAGONAL: This is the same as for Figure.

This is not meant to be a full primer but is designed to provide basics for ladies who are new to competing in figure or bikini. I always stress the importance of watching videos because they yield valuable information on how to pose.

Now get out there and strut your stuff!

Great Bombshell Poster From Team U 2013 When I Went Pro

bombshell TU

The titles here aren’t completely correct here. I was the Over 35 B Champion as well, with a First Place finish to complement my Over 40 B First Place finish and my Overall Title in Over 40, but because I had already won my Pro Card, Second Place finisher Lindsay Oxford got her Pro Card as well. I guess that is why they decided to make it sound like Lindsay Oxford had won her class.

Competing On A Budget

Originally published on RxGirl.com on Sunday, 14 October 2012. The original post was published with white text on white background, so the only way to read it on the site is to highlight the text. To make things easier for everyone, I have copied and pasted the article here for you to read.

http://www.rxmuscle.com/rx-girl-articles/6778-competing-on-a-budget.html

Figure top 5
Several weeks ago I calculated the total amount which has been spent by my sponsors and by me on all costs associated with the half dozen national qualifiers and the thirteen pro qualifiers I have competed in since 2009, and almost fell over in my chair. I am by no means blessed with disposable income so I can honestly say that my drive to compete has required a tremendous amount of financial and personal sacrifice. However, I realize that many of you prefer to keep expenses to an absolute minimum, so I offer a number of suggestions on how to meet the financial demands of competing without putting undue strain on your wallet.

1. Set a specific competition budget and stick to it. I have a separate “show fund” in which I set aside money for competitions and am well aware of what I can and cannot afford. I know competitors (and I admit I have foolishly pushed myself to the limit in the past) who have paid a show entry fee then later came to the realization that they could not afford the other expenses for the event and had to back out of it. Once a budget is set, it is important to limit oneself to the number of competitions which will keep one within budget. This can be challenging, especially when one is on a mad quest to chase a national qualification or pro status.

2. Look for a sponsor. I have had competitors ask me how to obtain sponsorship and who also lament the fact that it is exceedingly difficult to land sponsorship from a supplement company. My response to this is that sponsors can come in all forms! Here are some suggestions for potential sponsors:

Fans
Friends and family
Business associates
Fitness clothing companies
Smaller supplement companies

The trick to asking for sponsorship is to graciously ask for assistance in paying for an event. Remember that even a small amount will help. I have competed at events which have been sponsored by a number of entities, with the tan covered by one, entry fee covered by another, flight by yet another, etc.

3. Stick to nearby contests. It makes sense to compete within your geographic area if you are trying to keep costs down. If you are competing at local and regional events, make sure these events are within reasonable driving distance from where you live. National-level events are much trickier since they are fewer in number and take place in very specific areas. If your budget allows it, you may consider competing at pro-qualifiers provided 1) your budget allows it, and 2) you limit the number of pro-qualifying events you enter.

4. Stay with friends. If you are considering competing at an event which is far from where you live, consider asking friends or family who live near the venue if it is possible to stay with them.

5. Purchase a used competition suit. Many competitors will retire gently used suits and put them up for sale. This is a great way to get a suit without breaking the bank. Keep in mind that you should determine whether your body is similar to the competitor who has worn the suit, as this will greatly affect how the suit fits YOU.

6. Bling out your own suit. A competition suit encrusted with crystals can range from several hundred to thousands of dollars and can really kill a competition budget! A great option is to purchase a plain suit then purchase crystals, beads or sequins from wholesale supplier online, then apply the embellishments yourself. Please refer to my article on How To Bling Out Your Own Suit for more details on how to do this. By choosing this option you will save a considerable amount of money. In addition, you can customize your design, making your suit truly one-of-a-kind.

7. Do your own makeup. Out of the eighteen competitions I have been in, I only had my makeup professionally done four times, and that was in 2009 and 2010. Since then, I learned how to apply makeup for the stage and as a result, have saved a significant amount of money. Please refer to my article, Perfect Stage Makeup for pointers. Also make sure to PRACTICE a couple of times before the contest so that you don’t wind up with a disaster on the big day. There are plenty of great tutorial videos on YouTube which will walk you step-by-step through makeup application for a smoky eye.

Pro Bikini gals backstage
8. Do your own hair backstage. Generally speaking, you really don’t need to get too fancy with your hairstyle. For figure and bikini, either flatironing for a sleek look or adding big, soft curls will look nice onstage. Fitness, women’s physique and women’s bodybuilding may necessitate putting some hair up if you have hair that is long enough to get in the way of your routine. Make sure to use either smoothing serum for flatironed styles or hairspray for curls so that things stay in place. However, do NOT make your hair so stiff that you cannot gracefully move it off your back during your back pose.

9. Apply tanning solution yourself. This is a tough one, since I always have my tan done professionally. However, if you are truly on a tight budget, it is certainly possible to apply tanner yourself. The only limitation will be when you need to tan your back. There is a tool which you can purchase called Xen-Tan Hard To Reach Back Applicator which does a decent job of evenly depositing self-tanner on hard to reach areas if you aren’t able to find someone to help you apply your tanner. This clever device is available at a number of sites, including Neiman Marcus, Zappos, 6 PM, Amazon and Ulta. I merely chose the Ulta site because that is where I purchased mine.
http://www.ulta.com/ulta/browse/productDetail.jsp?skuId=2242675&;productId=xlsImpprod4141877&navAction=push&navCount=1&categoryId=cat90022

Make sure to apply a thin, even layer and allow to dry before applying the next layer. The number of layers you will apply will depend on your base skin tone and the brand of solution you decide to use, but you should plan on applying two to five coats of color.

As for the solutions which I consider the best for stage, I love Jan Tana High Definition Color and Liquid Sunrayz. Bronze Angel by Dream Tan is also great. Some people love Pro Tan so this brand may also work well for you. However, I personally cannot use this product as it fades immediately on me, hence my hesitation with this particular brand.

I hope these tips will enable you to compete at the shows you have your eye on! Best of luck!