
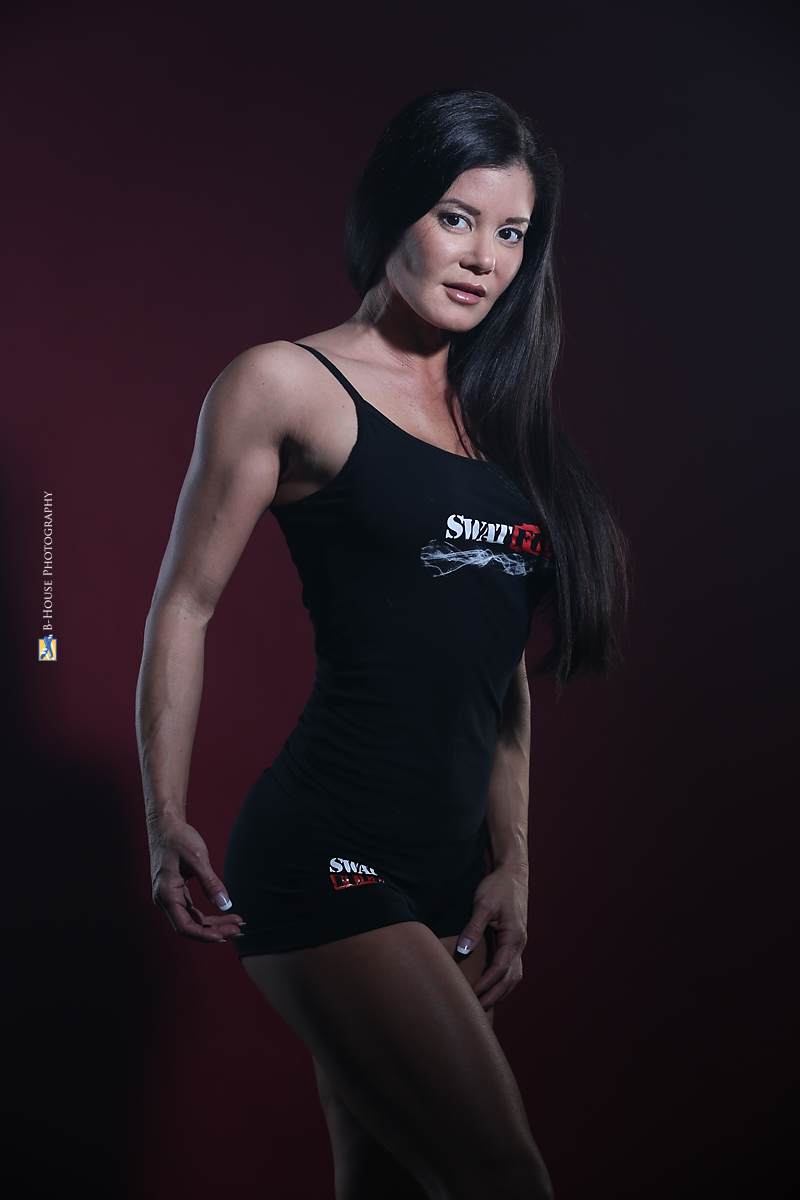
As a physician, I have a built-in skepticism when it comes to trying sports supplements, and it takes a lot for a supplement to impress me. So when I say that SWAT Fuel makes two of the very best thermogenic fat burner/preworkout formulas, you can believe that they are pretty exceptional. I have used SWAT Fuel products for two years now,and never once have I had issues with jitters, cutaneous flush or a sudden slump in energy. What I get is a very pleasant, sustained energy boost which enhances my concentration and performance. I feel GREAT when I take 9mm or 9mm+P!
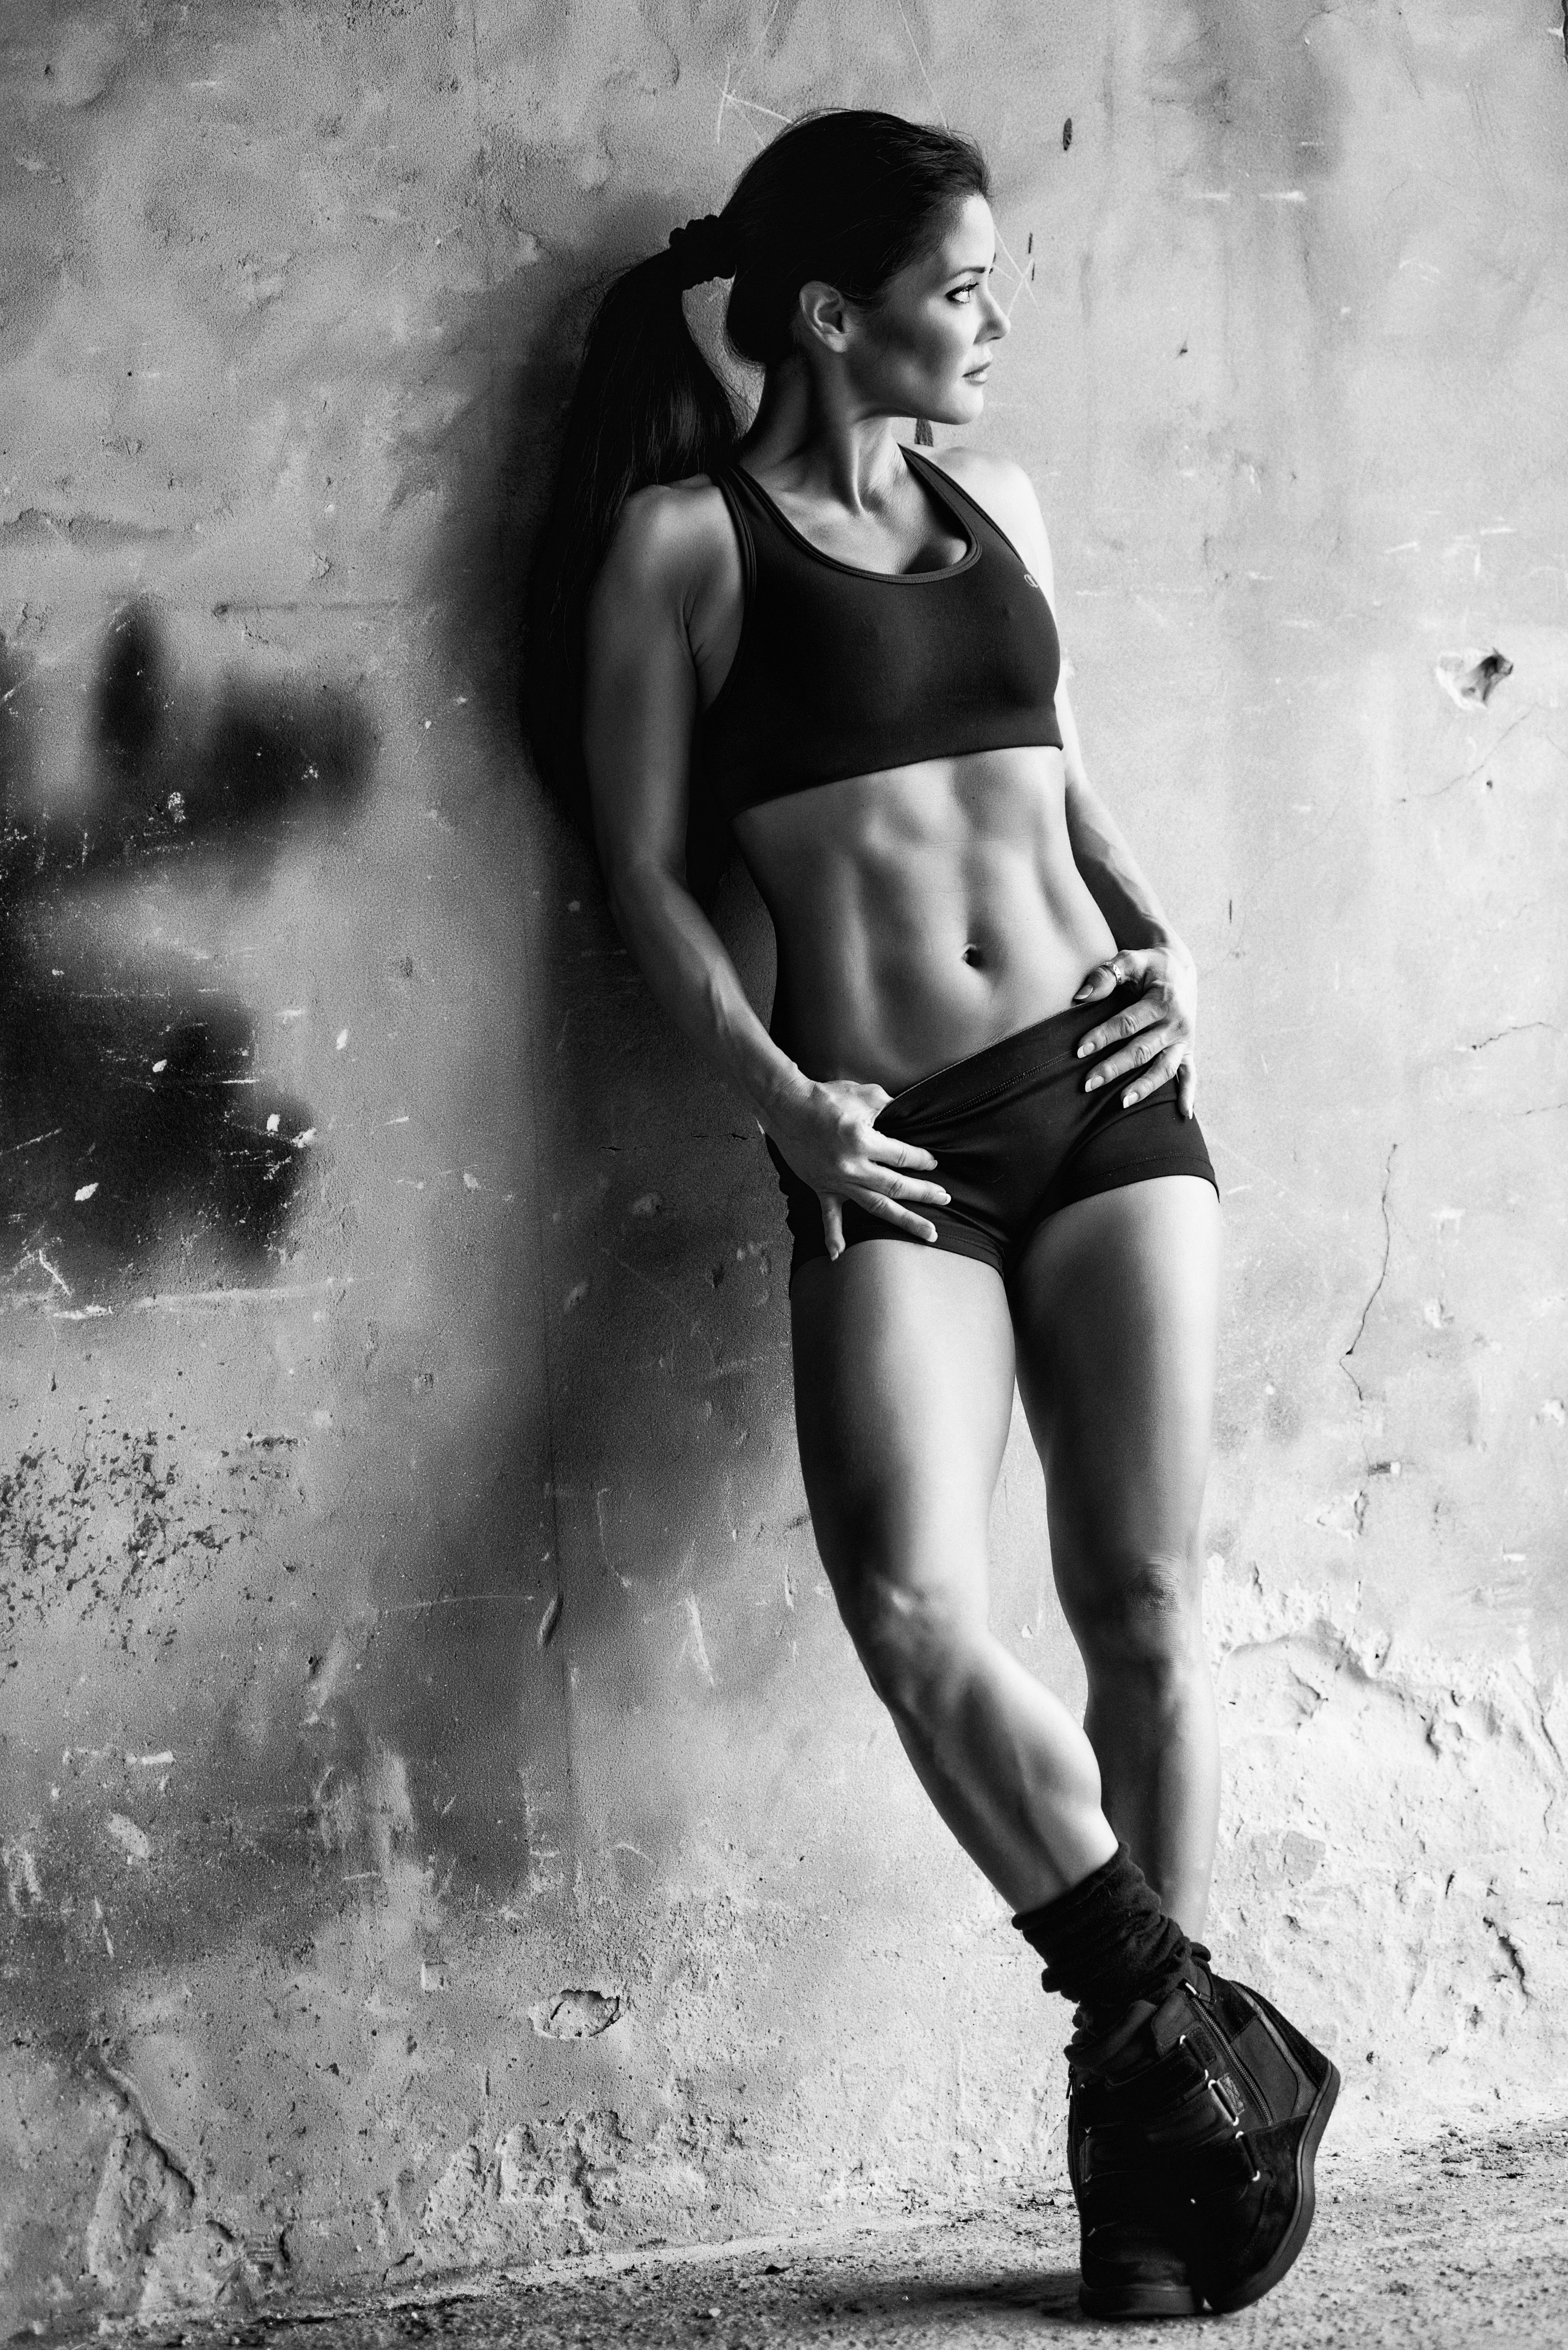

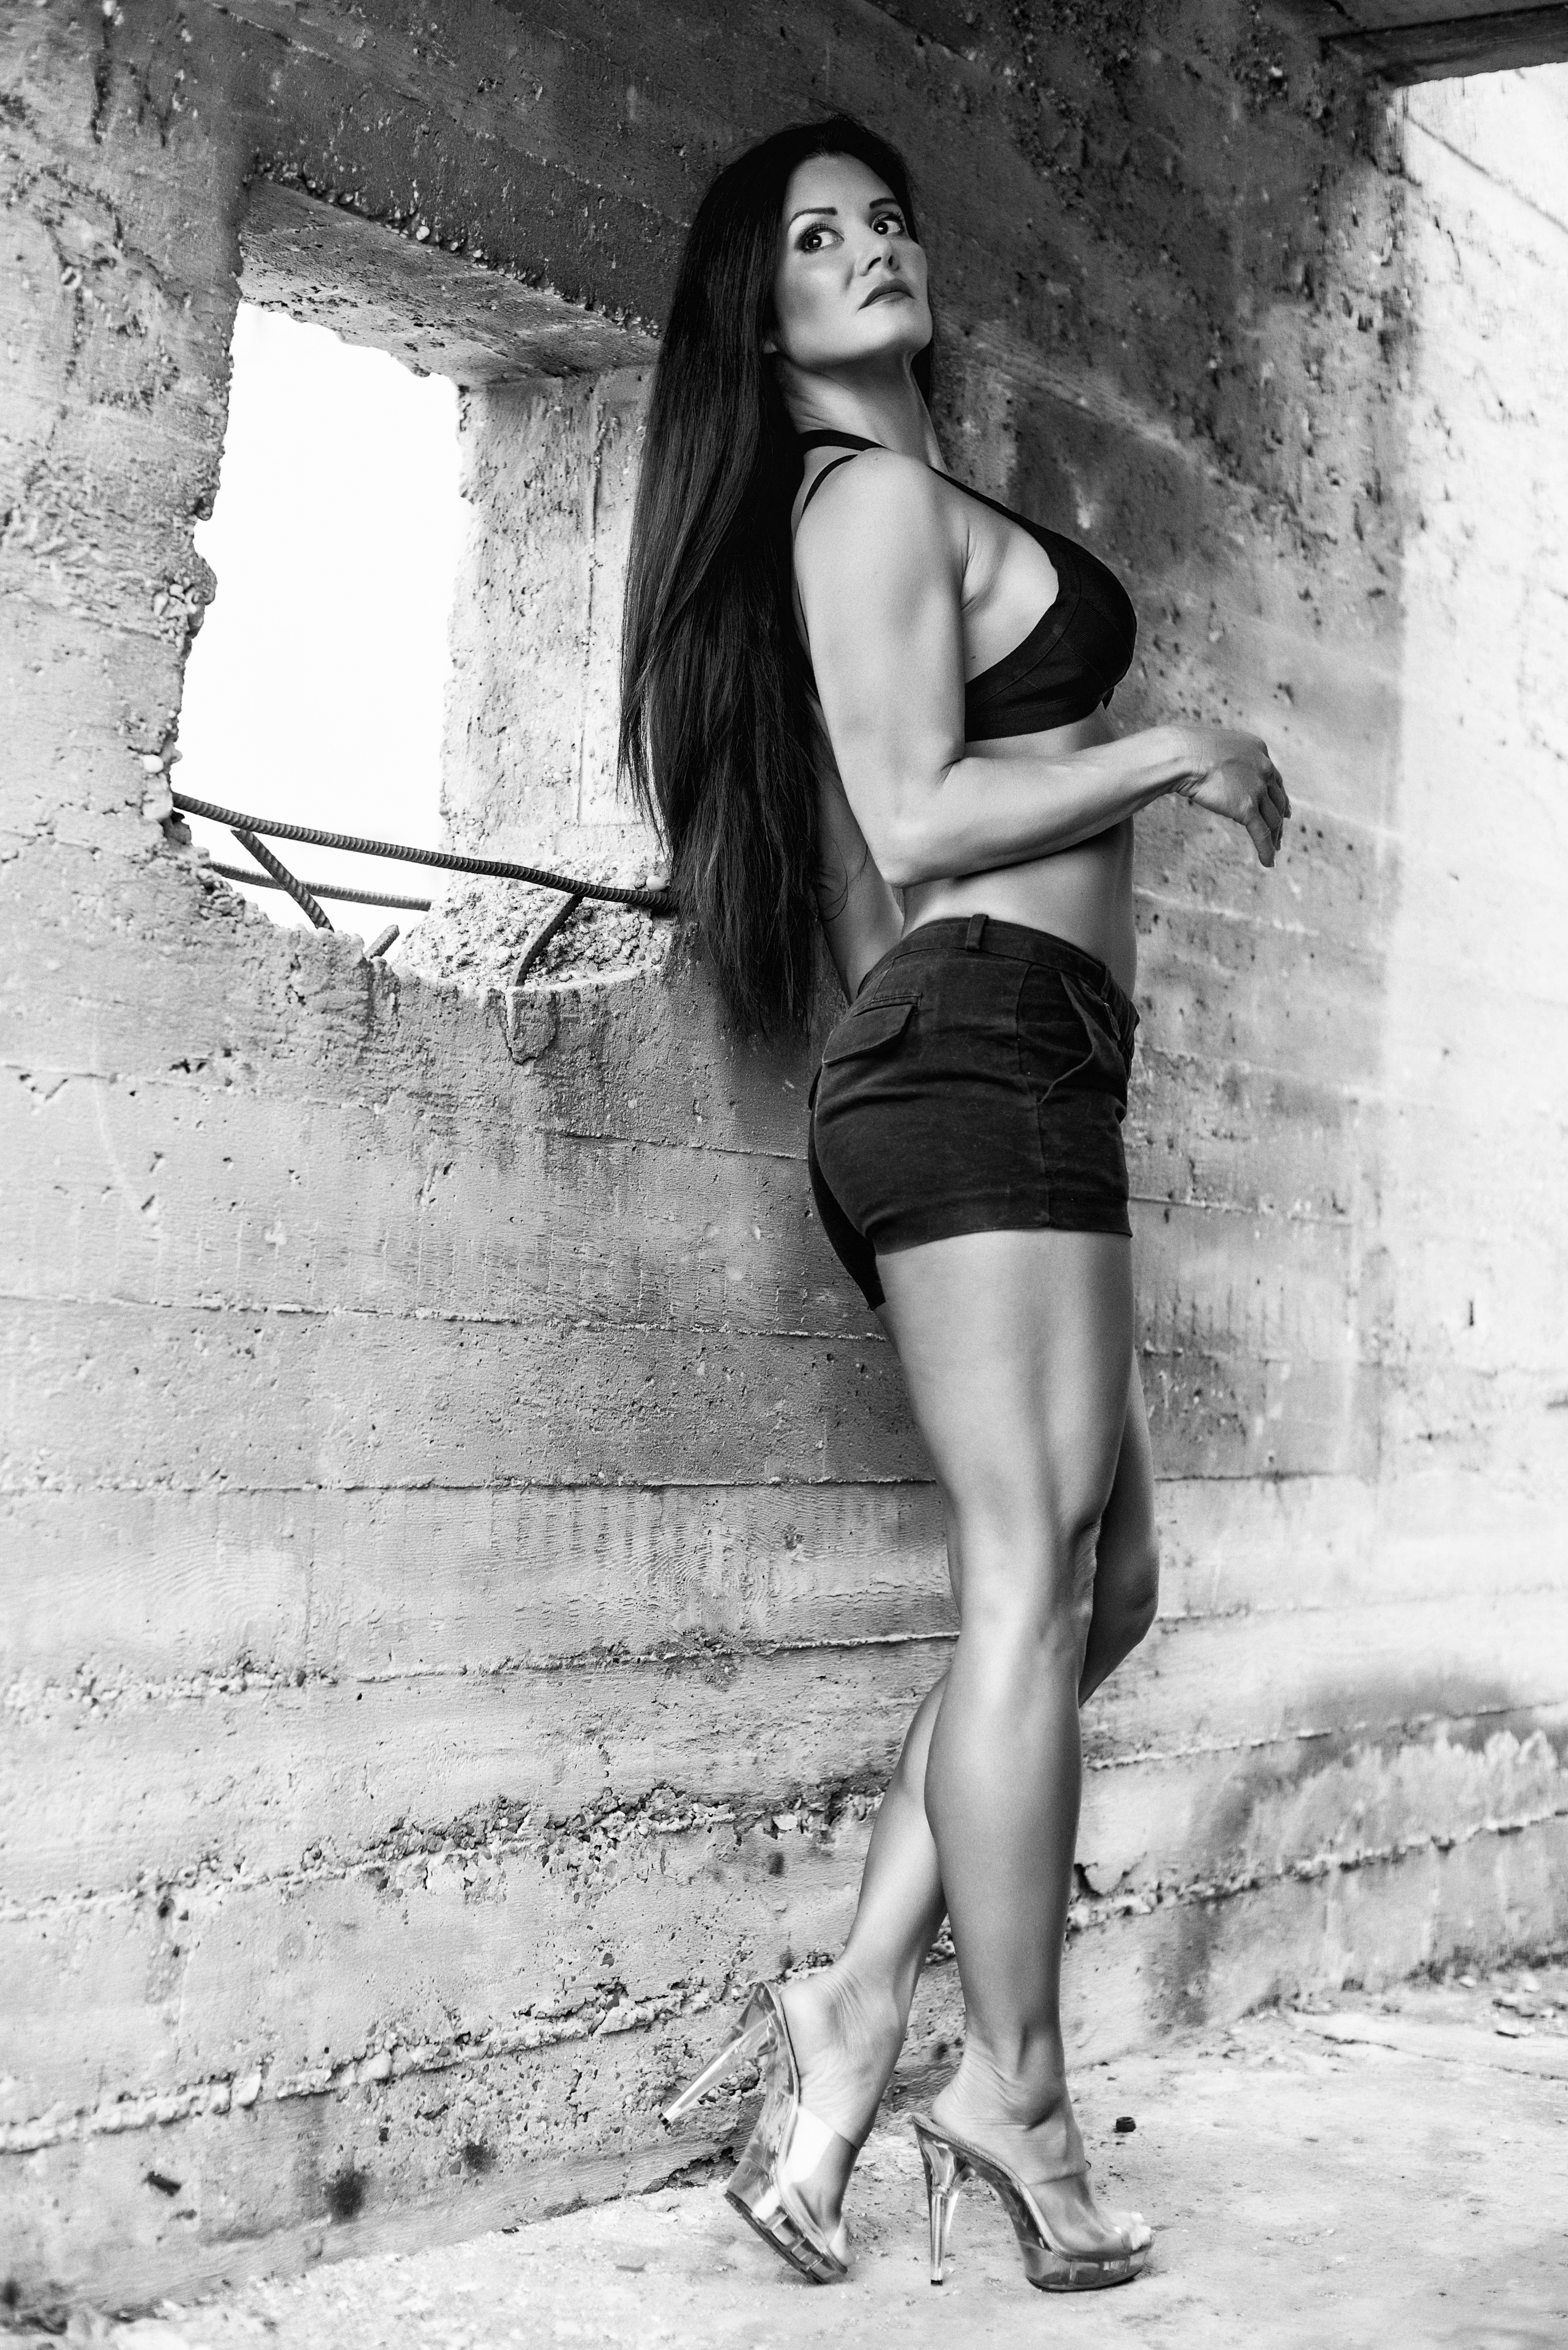
I believe this was shot in mid 2011 out near Las Vegas. It’s one of my favorite images!
Originally published on mensphysique.com on Monday, 02 April 2012
Modeling for the first time can be a bit daunting, especially during fitness shoots in which your physique is being prominently displayed. However, there are some guidelines and tricks to make the experience a pleasant one and one in which you can maximize the chances of producing strong images. The single-most important thing is to follow the photographer’s lead with posing, since prominent fitness photographers have developed considerable skill in posing the human body in the most flattering manner possible. This doesn’t mean that your work isn’t cut out for you, but the following posing tips will become easier over time as you are asked to do more shoots. It’s actually a good idea to practice modeling poses in front of a mirror so that you can more clearly assess how your body looks in certain poses.
Generally speaking, a wide leg stance displays your muscularity in the best fashion since it makes your waist appear smaller and enhances the bulk of your quads. Make sure to stagger feet so one foot is a few inches more forward than the other. You will shift your weight onto this foot and flex your quads while bending knees slightly. To make your upper body look as wide as possible, widen your shoulders and keep your back straight in order to enhance your v-taper.
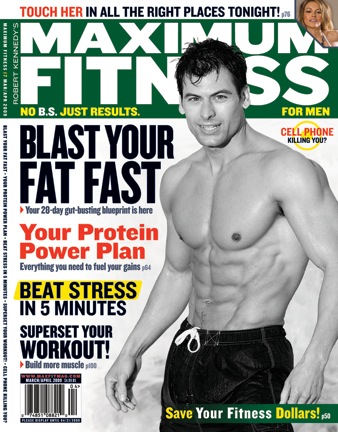
Once your pose is established, you will flex muscle groups one at a time, such as quads, then delts, then pecs, then arms and finally abs. Get used to holding a pose! You may need to hold a pose while fully flexed for a couple of minutes. Which brings me to facial expression…quite often you will be asked to relax your face and flash a genuine smile which belies all the tension you are employing in your muscles, which can definitely be tricky. Your face needs to be a calm and happy sea, while the rest of your body is a raging storm of muscle contraction. This may take longer for some men to learn than others, and those men may keep praying for those shoots in which their facial expression needs to be intense, grimacing and full of power. Successful fitness models have mastered this trick and know that is essential in order to land certain covers and ad campaigns.
Above all else, have fun with the shoot, ask for a short break if you are tiring out too quickly, and maintain a positive and pleasant attitude.
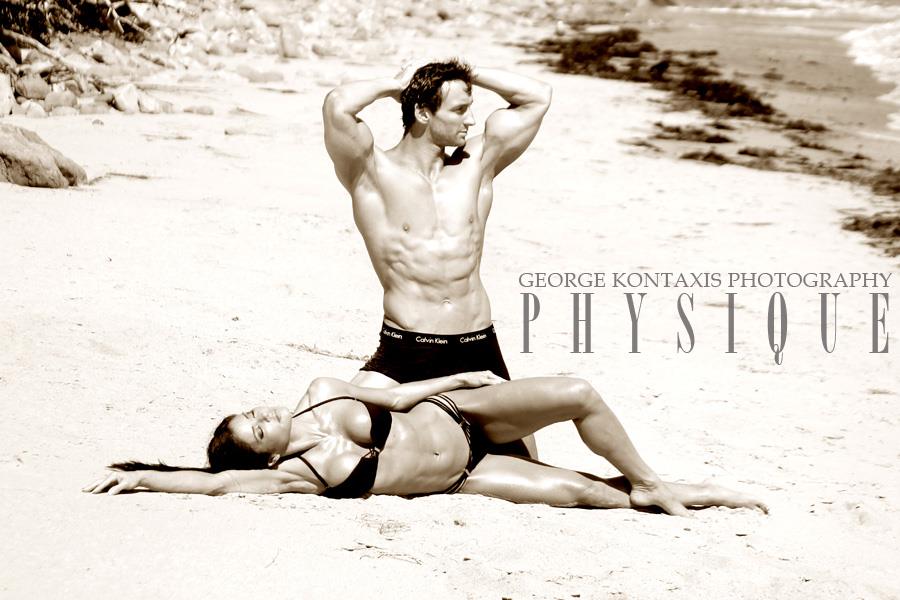
This is Ian Lauer and me in Malibu from a couple of years ago, shot by the amazing George Kontaxis. I think you can tell that Ian and I were very much a couple then, but we are now just very good friends. He remains one of the most important and special people in my life and I am blessed to know him.
Originally published on Tuesday, 29 November 2011
You may have modeled alone numerous times and are comfortable with your poses. This may lead you to think that posing with a woman is no different. However, there are numerous points to keep in mind any time you are at a shoot in which you are expected to pose with a lady.
First of all, don’t allow nerves to distract you from performing as expected. What helps tremendously with getting over any nervousness is to chat with the woman before the shoot in order to establish a comfort level. You don’t have to discuss anything in particular, but at least get an idea of her personality.
Be aware of the goal of the shoot. If the goal is to shoot a cover or an ad, you will most likely be the center of focus since many covers showcase the man while using the woman as a type of accessory. Fitness photographers are typically excellent at posing their models, which means you need to be able to follow direction without offering commentary on the poses you are being asked to do. If the photographer tells you to open your shoulders, or turn your head slightly more to the right, then just do it. Sometimes these microadjustments may be challenging since you have to hold a pose while also flexing and looking like you are having the time of your life. But all these elements are key in conveying the proper energy and mood through the images.
Move slowly between each pose and give the lady time to adjust as well. Remember that she needs to be in the proper pose as well. If you are asked to touch each other, perhaps with your hand around her waist and her hands on your chest or shoulder, be respectful of her. That being said, make sure that when you are both in a pose in which you are touching, you both look like you actually like each other, even if you can’t stand each other. Your poses and your facial expressions need to be genuine and believable.
Remember to carry yourself in a professional manner during the shoot. It doesn’t matter if you have the hots for your modeling partner remain a professional. If you must, you can ask for a date WELL after the shoot is over!

http://www.rxmuscle.com/rx-girl-articles/6198-perfect-stage-makeup.html
The original post was published on RxGirl.com on Monday, 30 July 2012. The text was white on white, so the text is tough to read unless you highlight the entire body of the article. To make it easier for everyone, I have copied and pasted the article here.
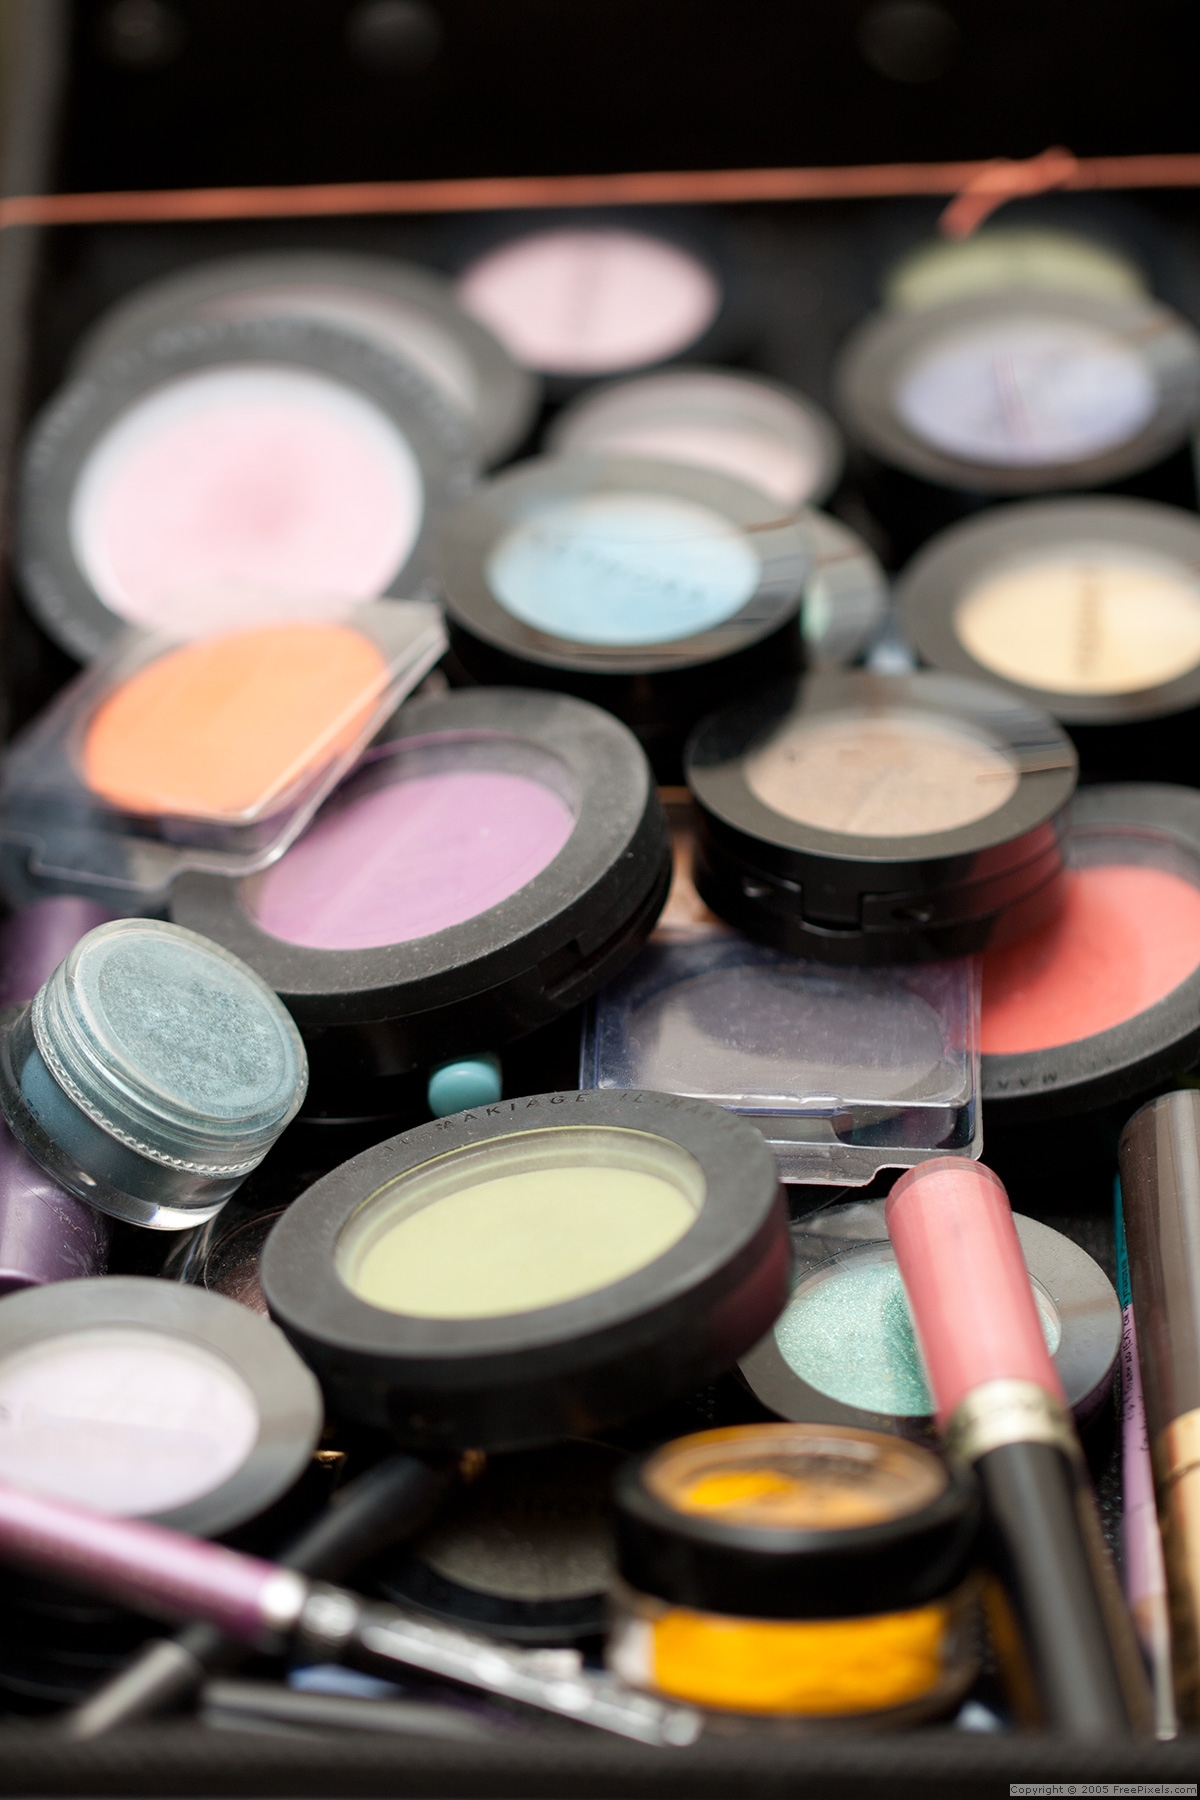
Let’s say you have decided to compete in your first contest and have already chosen your suit and accessories, booked your tanning appointment and, in an effort to keep costs down, decided to do your own makeup. If you have done stage makeup for other competitors then you most likely know what colors and techniques to use in order to avoid looking like a ghost onstage. However, if the extent of your makeup application skills has not ventured beyond bridal makeup and a nice going-out-on-the-town look, you might want to read on.
FOUNDATION:
First and foremost, the foundation you use needs to be DARK. I mean really dark. Generally speaking, the color on your face needs to be only a shade or two lighter than the color on your body after you get your spray tan. For those of you familiar with MAC Foundation colors, Studio Tech NW43 or NW45 are excellent foundation shades for the majority of competitors. However, I do not like MAC foundations because 1) they are extremely comedogenic, and 2) the compacts dry out very quickly. Instead, I use Bobbi Brown Stick Foundation in Warm Walnut and that works very well onstage.
Make sure to gently exfoliate your skin prior to the day of the competition, and use moisturizer and primer immediately before applying foundation. Though I usually use a foundation brush to apply foundation for photo shoots, when working with very dark foundations for stage I find that a makeup sponge works better than a brush in applying a nice, thin yet even layer. Make sure to extend foundation onto your neck, ears and hairline, feathering out and blending. Once this is done, dust some translucent setting powder over the foundation to set it. Chanel makes an excellent loose powder which I love both for daily use and for shows.
EYES:
Usually I will do my eye makeup first, then apply foundation since using a lot of black eyeshadow can often create a lot of dust which will ruin your foundation if you have applied it prior to your eye makeup. When choosing eyeshadow colors, avoid blues, greens and purples as they tend to look garish under the stage lights. Your best bet is to stick with neutral tones. You can never go wrong with a dramatic smoky eye. If you don’t know how to do a smoky eye, check out YouTube for some great smoky eye tutorials. Also check out the image in this article which shows a perfect smoky eye for the stage. Ideal colors to use for a stage-ready smoky eye are black, champagne or platinum, a beige base, brown and perhaps a warm pink.

Here are some guidelines for creating a smoky eye with the above colors:
1. Apply eye shadow primer. I like Too Faced Shadow Insurance.
2. Sweep a beige shadow (recommended: MAC Grain) over entire lid and up along browline.
3. Apply black eyeshadow (recommended: MAC Carbon) over lid but be careful NOT to extend beyond lid crease. Extend shadow beyond outer corner of eye in a V, angling towards brow. Blend well with a blending brush. Also apply black eyeshadow to the outer portion of the lower lash line.
4. Take a brown eyeshadow (recommended: MAC Brown Down) and work into crease at outer corners. Make sure to blend this well.
5. Take a warm pink (recommended: MAC Da Bling) and sweep it over the inner and mid-portion of the lid.
6. Apply the champagne (recommended: MAC Ricepaper) or platinum shade on the browbone, the center of the lid, and the inner corner of the eye.
7. Apply black liquid eyeliner along the upper lash line, sweeping up into a cat eye at the outer corners. Please refer to the image of cat eye liner for a guideline.
Don’t forget false eyelashes! Finish off with liquid eyeliner and lots of mascara.
Make sure to also fill in your brows. I find that shadows work much better than pencils at creating a flattering look.
FACE CONTOUR:
Make sure to use a blush which is dark enough to show up on your face. MAC Dollymix is an excellent color for stage. I tend to extend the blush a bit into the side of the cheek below the cheekbone to avoid a hollowed out look, and will add a bit of bronzer to the blush when I do this.
Your contouring powder also needs to be dark, making MAC Deep Dark mineralized skin finish ideal for such a task. Apply contouring powder in an “E” on each side of the face, starting at the temple, then sweeping under the cheekbone and then along the underside of the jawline and under your chin. Make sure to blend well! A bit of highlighting powder also looks lovely when dusted lightly on the apples of the cheeks, forehead and chin, but be sure to use a light hand.
LIPS:
For your lips, choose pink or red matte shades. Avoid frosted formulas, oranges and corals as they do not translate well onstage. Also apply clear or pink lip gloss over your lipstick for a nice finish. Before you go onstage, make sure to blot the inner part of your lips with tissue to ensure that no lipstick ends up on your teeth.
IMPORTANT TIPS:
If you are nervous about how your makeup might look on the day of the show, practice your techniques until you feel comfortable. Also, make sure to give yourself enough time to apply your makeup on the day of the competition without feeling rushed. It is far better to start very early and have extra time to relax AFTER your makeup is applied than to be rushed and perhaps unable to complete your makeup application before stepping onstage.
